


Company News
Spring Screening: Lowe’s Creative for your Home
10
Jul
Jul
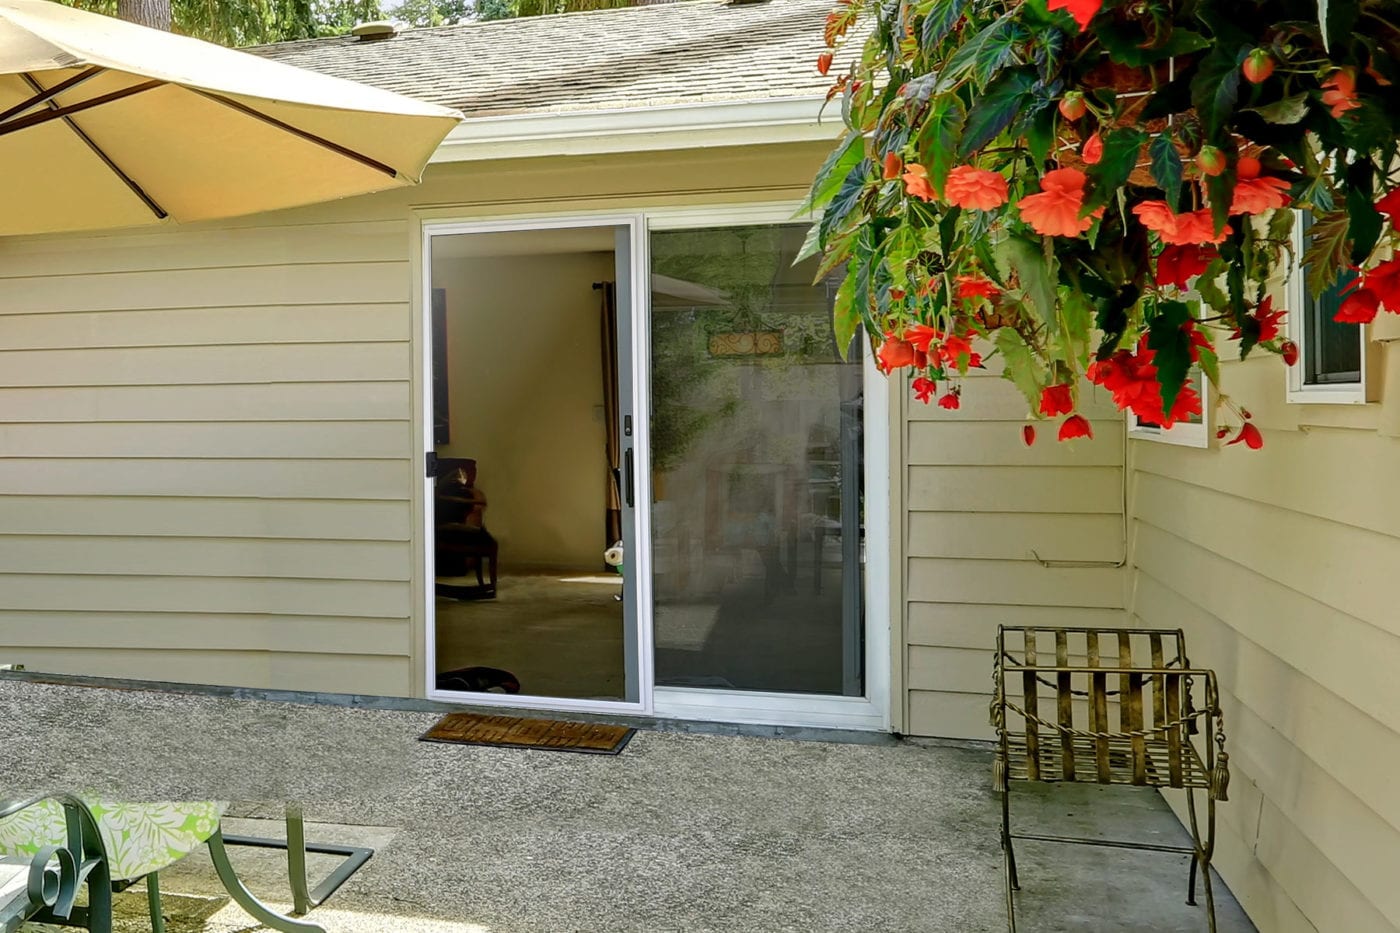
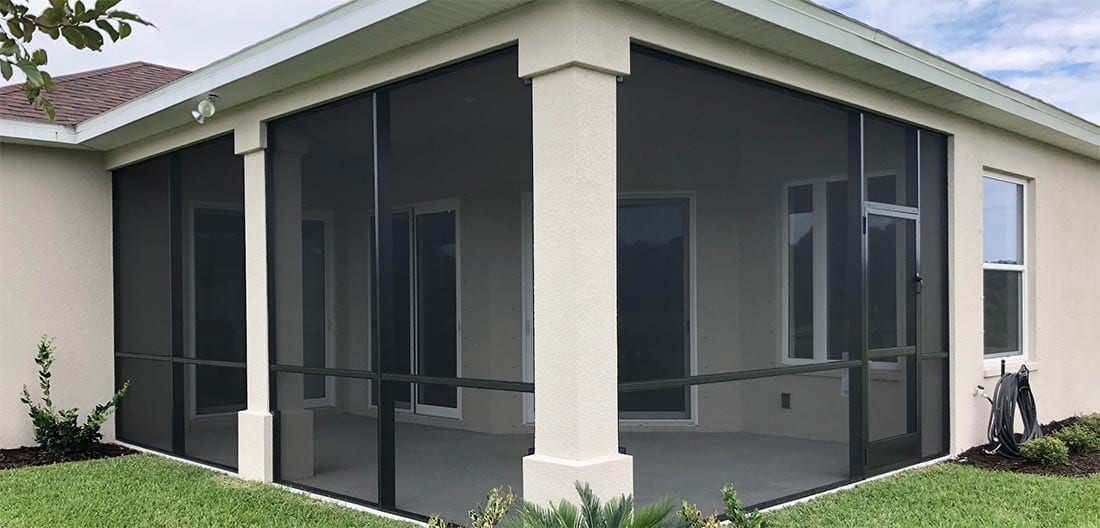
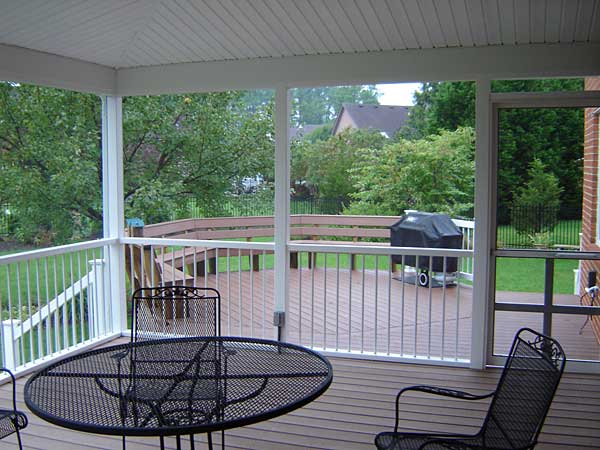
As you prepare your home for the up coming seasonal changes, be sure to consider your outdoor living space too. Now’s the time to make sure your screened porch is up to the task of keeping you comfortable as you relax outdoors this year. If your screens have seen better days, a new user-friendly system by Screen Tight, which you’ll find at Lowe’s, is the answer. With the simple steps and materials available in this system, practically any do-it-yourselfer will discover how easy it can be to revamp a screened porch. Just think, this spring the most enjoyable room in your house actually might be outside.
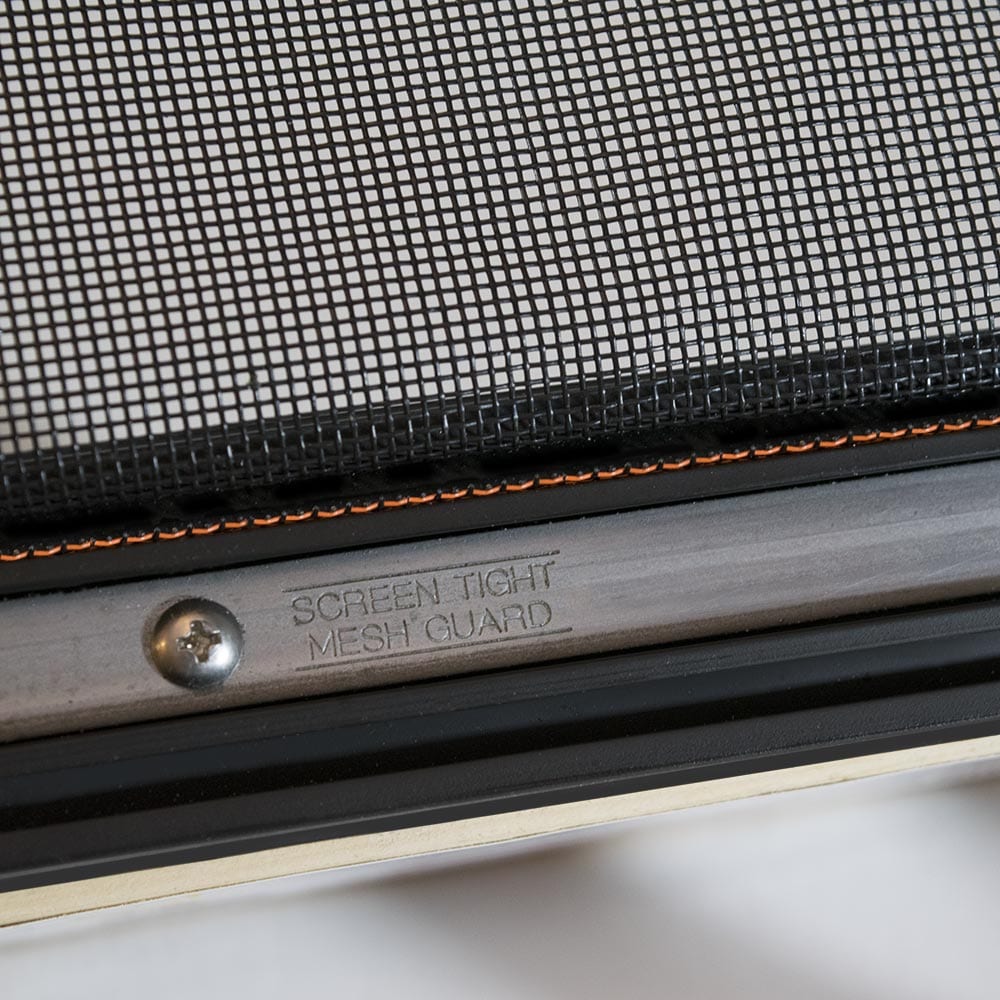
Screen Tight 101
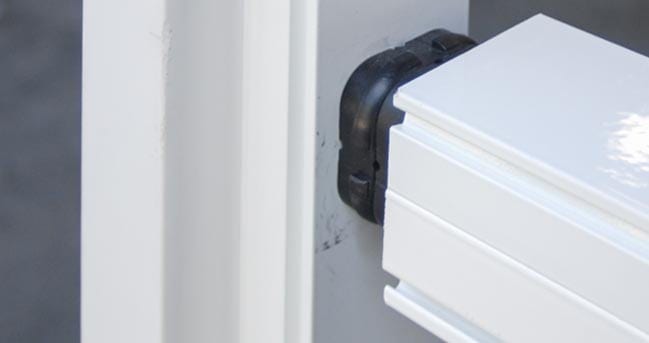
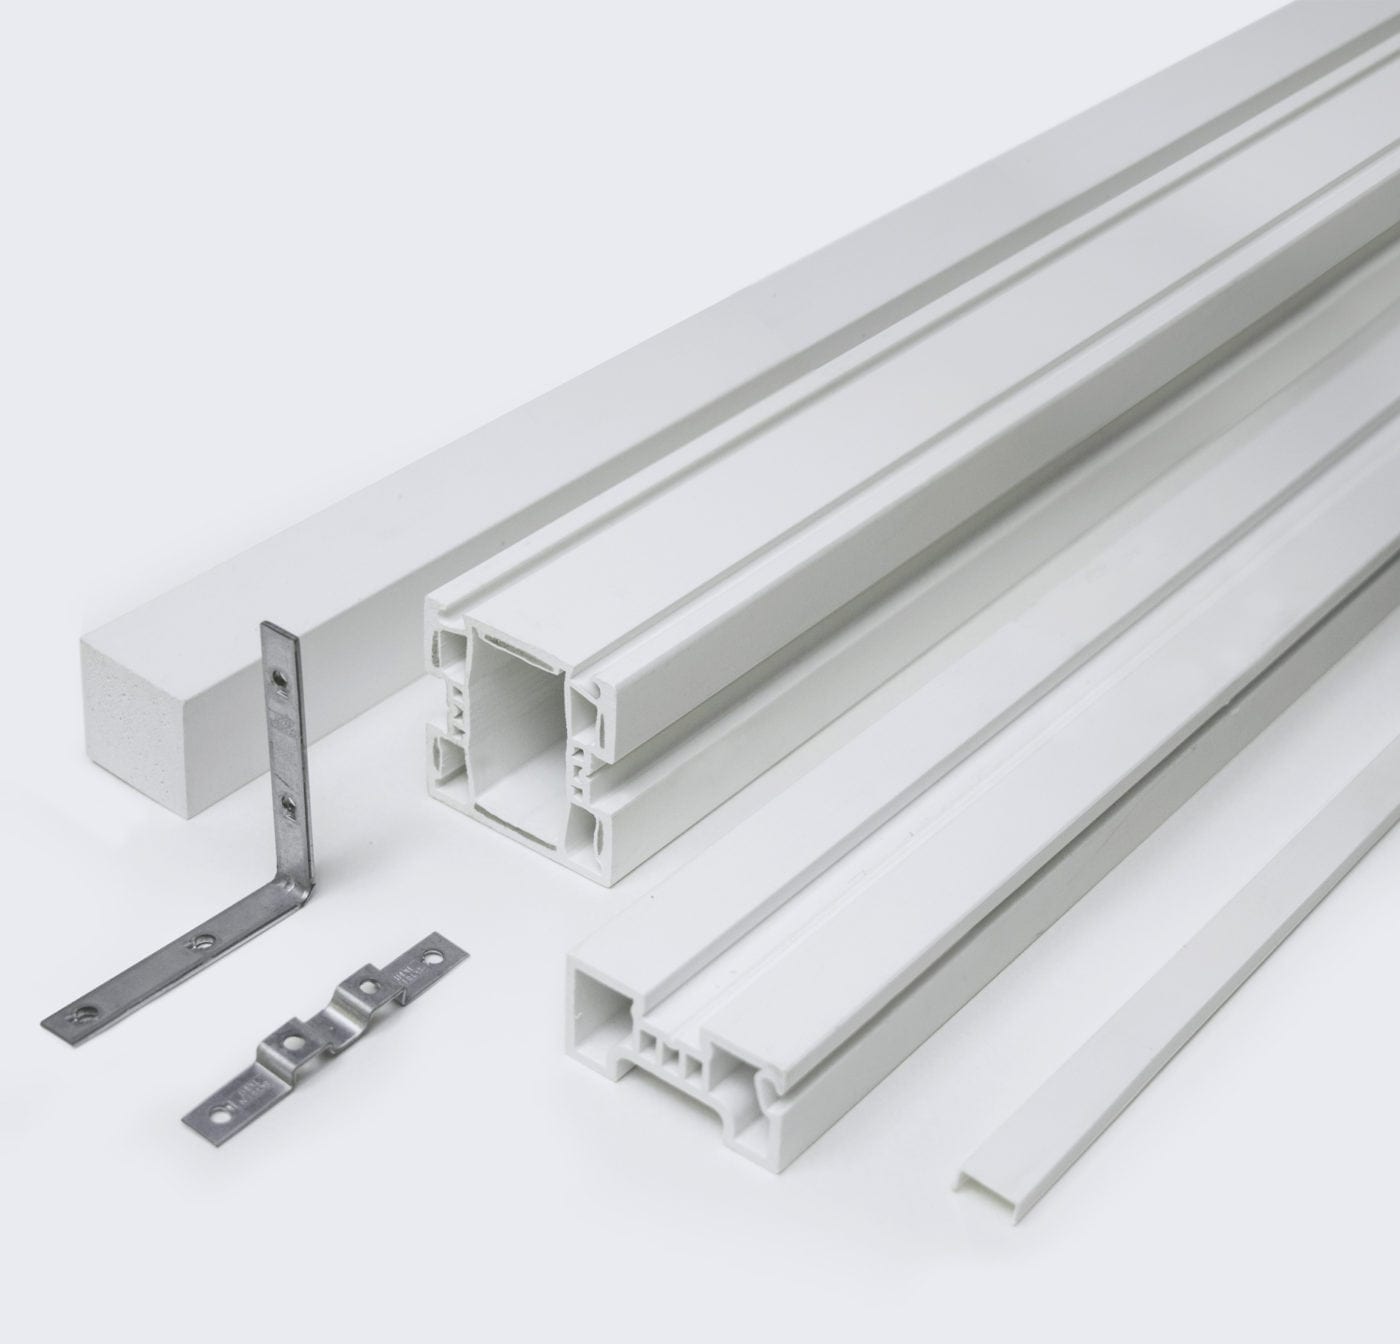
The key to the simplicity of the Screen Tight system is the low number of basic materials and tools required. First, base strips are screwed into the pre-existing supports. Next, Before Screened Porch screen pannels are secured into the base strips using screen spine and a screen-spline roller. Finally, caps snap onto the base strips to hide the screen edges and spline.- Skill Level: Intermediate
- Rough cost estimate: $500; Paint $150, Screening Materials $275, Screen Door $75
- Rough time estimate: 1 weekend
Measure First
Prior to purchasing your materials, measure your vertical and horizontal support rails. Most are constructed with either 2 x 4 or 4 x 4 boards. Base strips are available in two corresponding widths: 1½ inches and 3½ inches. Also be sure to measure the distance between the vertical supports. Screens are available in widths ranging from 36 to 72 inches. Plan to allow for an excess of at least 6 inches on all four sides, which will be trimmed after the screen is secured into the base strips. For example, if your average width is 60 inches, you will need to purchase 72-inch-wide screen material.Getting Started
Before you begin, remove all the old screens. Next, pressure wash, scrape, sand, prime, and paint the existing railing, supports, and flooring as needed. Remember to remove all hardware from doors prior to priming and painting. Allow paint to dry completely before starting the installation process. (Tip: Remove any light fixtures that may get in the way when installing the base strips and screens.)How to Install the Screens Using Screen Tight
- Measure the top and bottom horizontal framing supports, and cut the base strips so there dimensions using exterior screws in the existing holes.
- Measure and cut the base strips for the vertical supports and attach using exterior screws.
- Measure the height and width of each frame you’ve created with the base strips. Cut screen panels to these dimensions, allowing at least 6 extra inches on all four sides (Tip: Use the floor or decking boards as a guide for cutting straight lines).
- Cut strips of screen spline to the lengths of the base strips, but allow at least 8 inches of excess.
- Install each screen panel, beginning in the upper-left corner and working from left to right. Lay screen over a corner, then use a screen-spline roller to guide the material into the track on the base strip. Repeat on all sides of the panel, gently pulling the screen material as you go to get a tight fit. (Tip: The assistance of a second person can make this step easier and faster: One person holds the screen taut, while the other rolls the spline into place.)
- Once all of the spline has been inserted, trim away any excess screen using a utility knife.
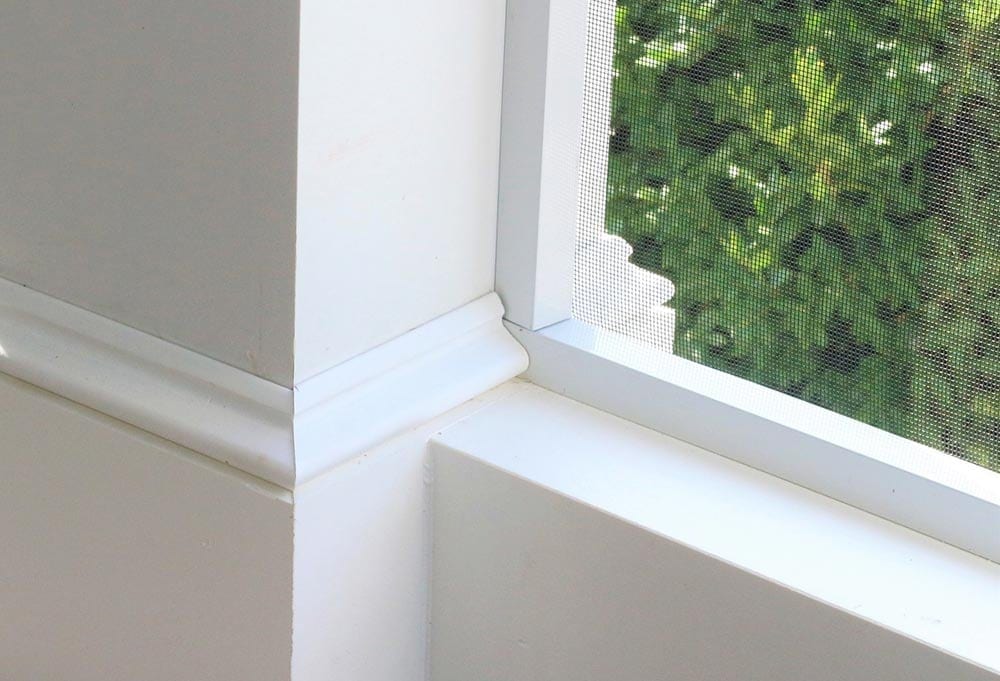
- When all screen panels have been installed, measure for the caps, beginning with the base strips at top and bottom. Cut the caps to fit using snips. Snap caps into place over base strips using either your fist or a rubber mallet. Repeat to install caps over vertical supports.
The Finishing Touches
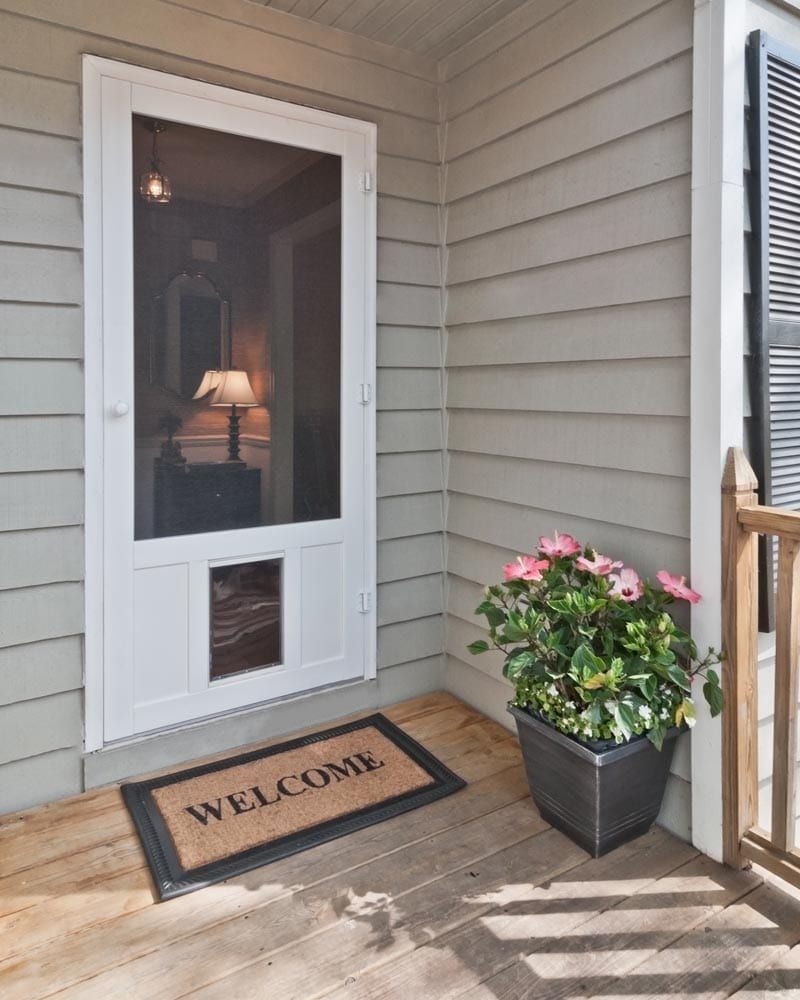
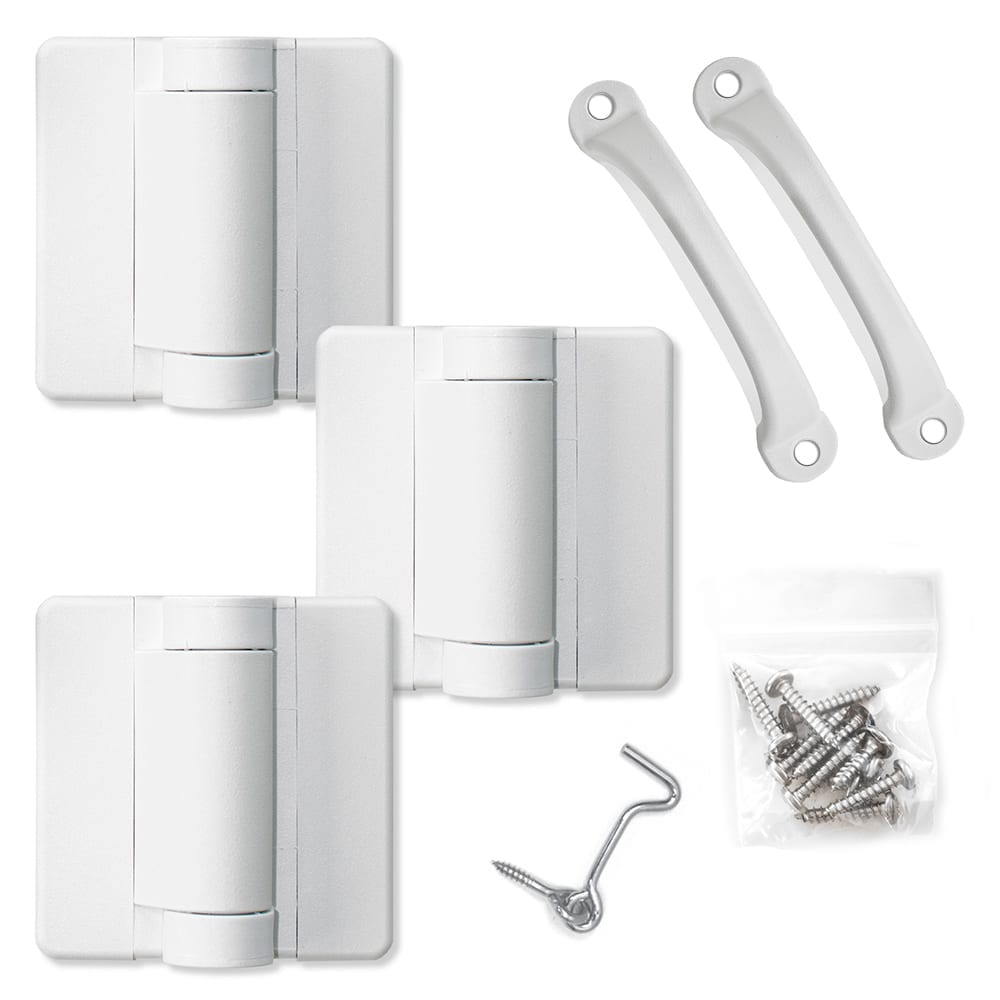
As you can see, screens transformed this porch into a more inviting living space. Then all it took was a few additional improvements to make it a comfortable room in which to lounge and entertain. An all-weather outdoor ceiling fan (#74158) was installed to cool occupants on hot summer days. The existing light fixtures were not only outdated, but they also did not provide ample light. Two outdoor light fixtures in a rustic brown finish proved to be a good solution. A vinyl five bar screen door by Screen Tight makes entering the porch a pleasure. A white door-hardware set and hinges complete the finishing touches.| Lowe’s Shopping List | |||||
| Screening Materials | Other | Tools | |||
| º | 1½-inch (8-foot-long) base strips (Screen Tight, black #21532* | º | five-bar vinyl screen door (36-inch, Screen Tight, white, #147344)* | º º | tape measure cordless screwdriver |
| º | 3½-inch (8-foot-long) base strips (Screen Tight, black, #21533)* | º | 2 outdoor light fixtures (Portfolio, Rustic Brown Finish, #24225) | º | multipurpose snips (Prosnip, #110469) |
| º | 1½-inch (8-foot-long) caps (Screen Tight, white)* | º | 1 (52-inch) all-weather ceiling fan (Harbor Breeze, white, #74158) | º | RollerKnife (Screen Tight, #52369)* |
| º | 3½-inch (8-foot-long) caps (Screen Tight, white #21535)* | º | side table (Brookfield, #172442) | º º | utility knife rubber mallet (optional, #52651) |
| º | 72-inch (100)-foot-long) fiberglass Insect screening (Phifer Wire Products, Charcoal, #51182) | º | doorknob (Screen Tight, white, #147345) | ||
| º | 0.175-inch (300-foot long screen spine (Screen Tight, #21984)* | ||||
| *Available through special order in some stores. | |||||
Original Article by Kacy Carroll. Download the article here.