


Project Profiles
Customer Project Profile + Mini Track Installation Tips
Aug
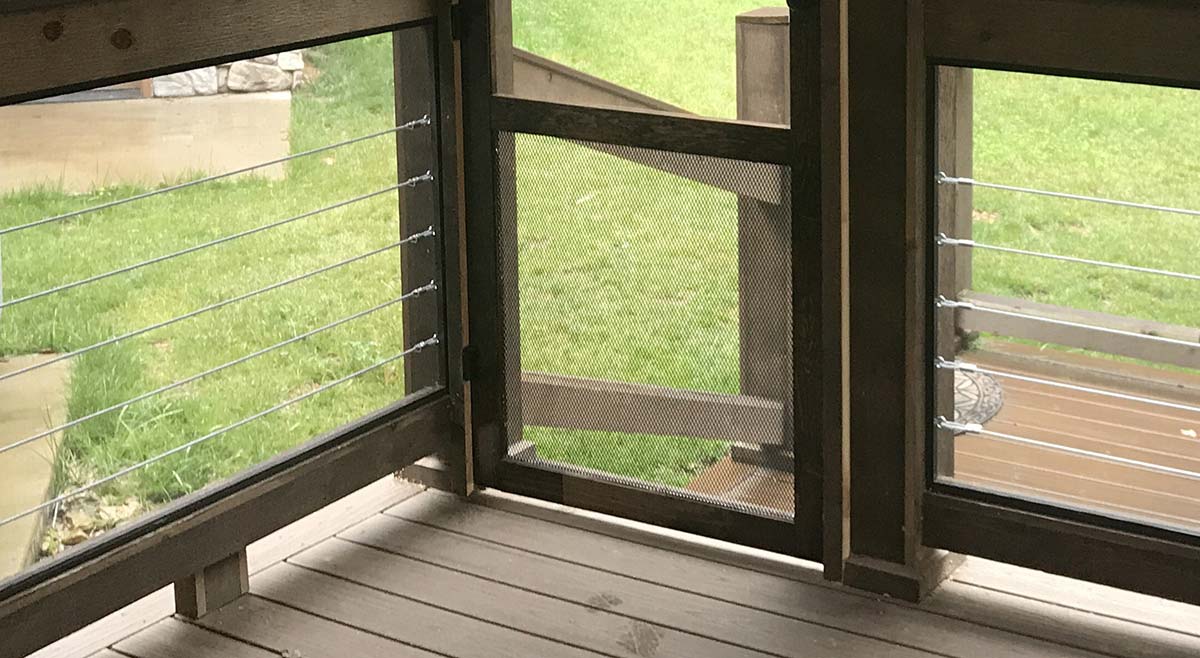
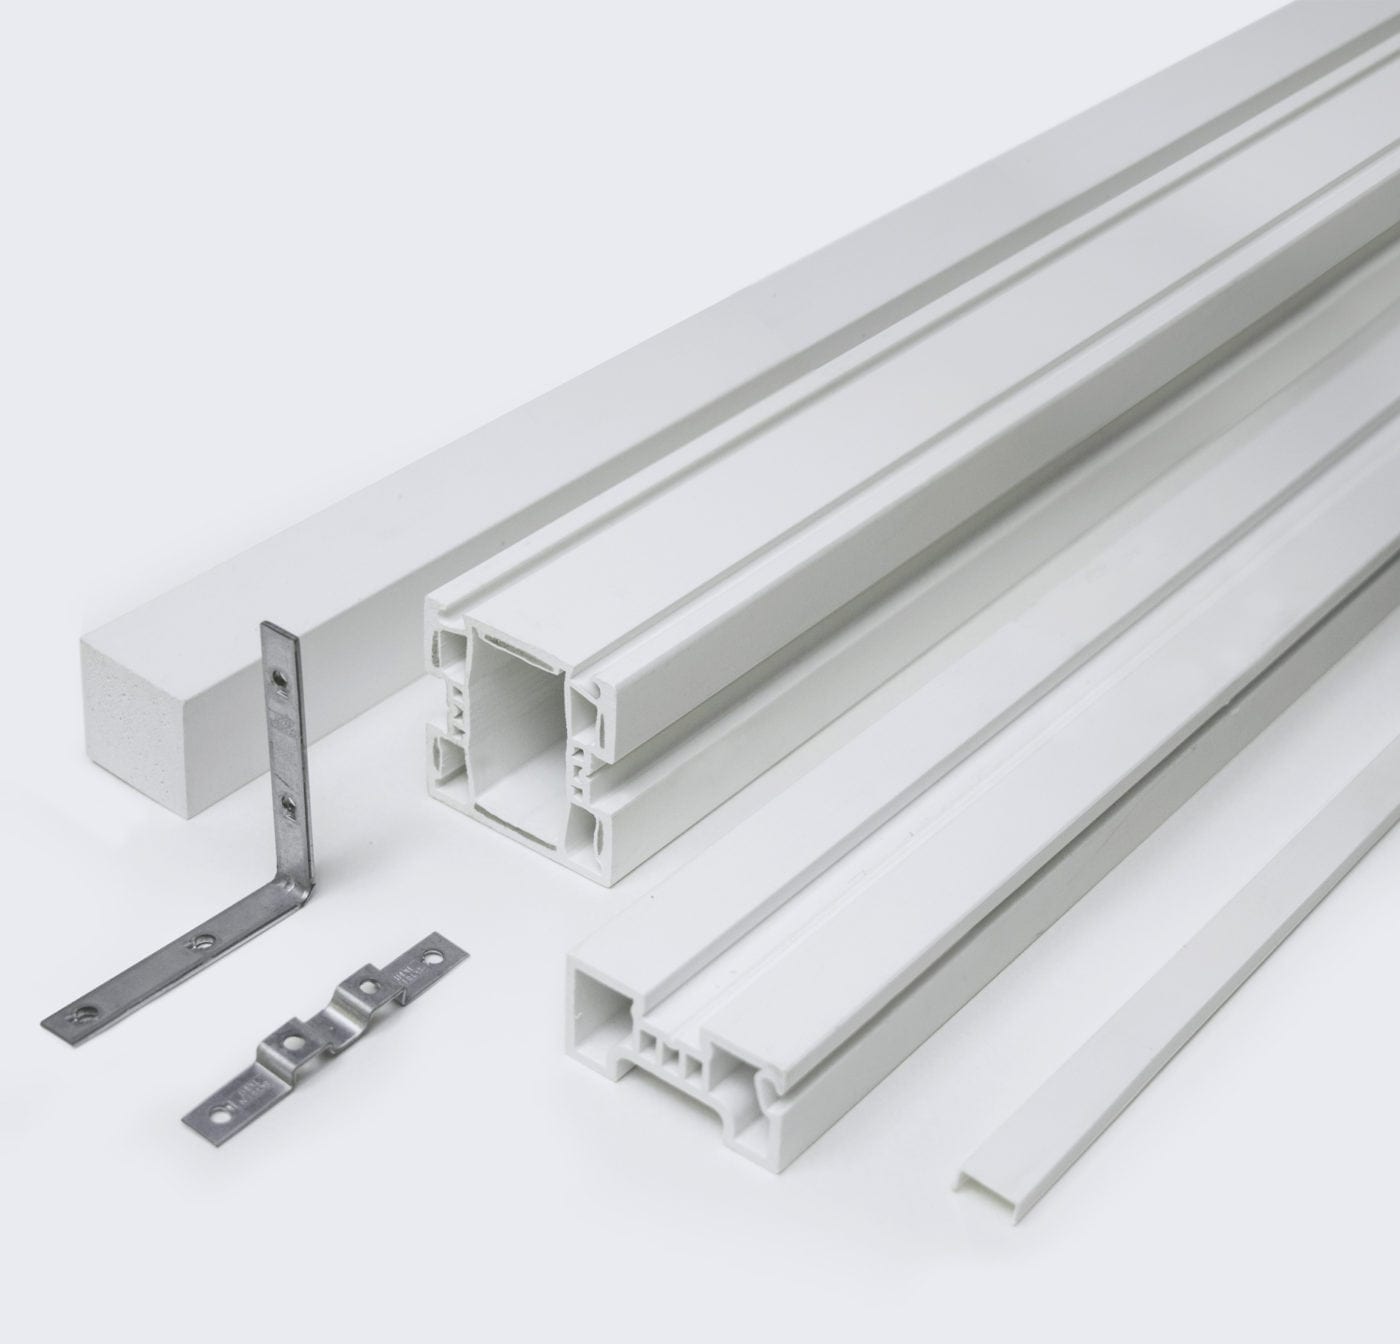
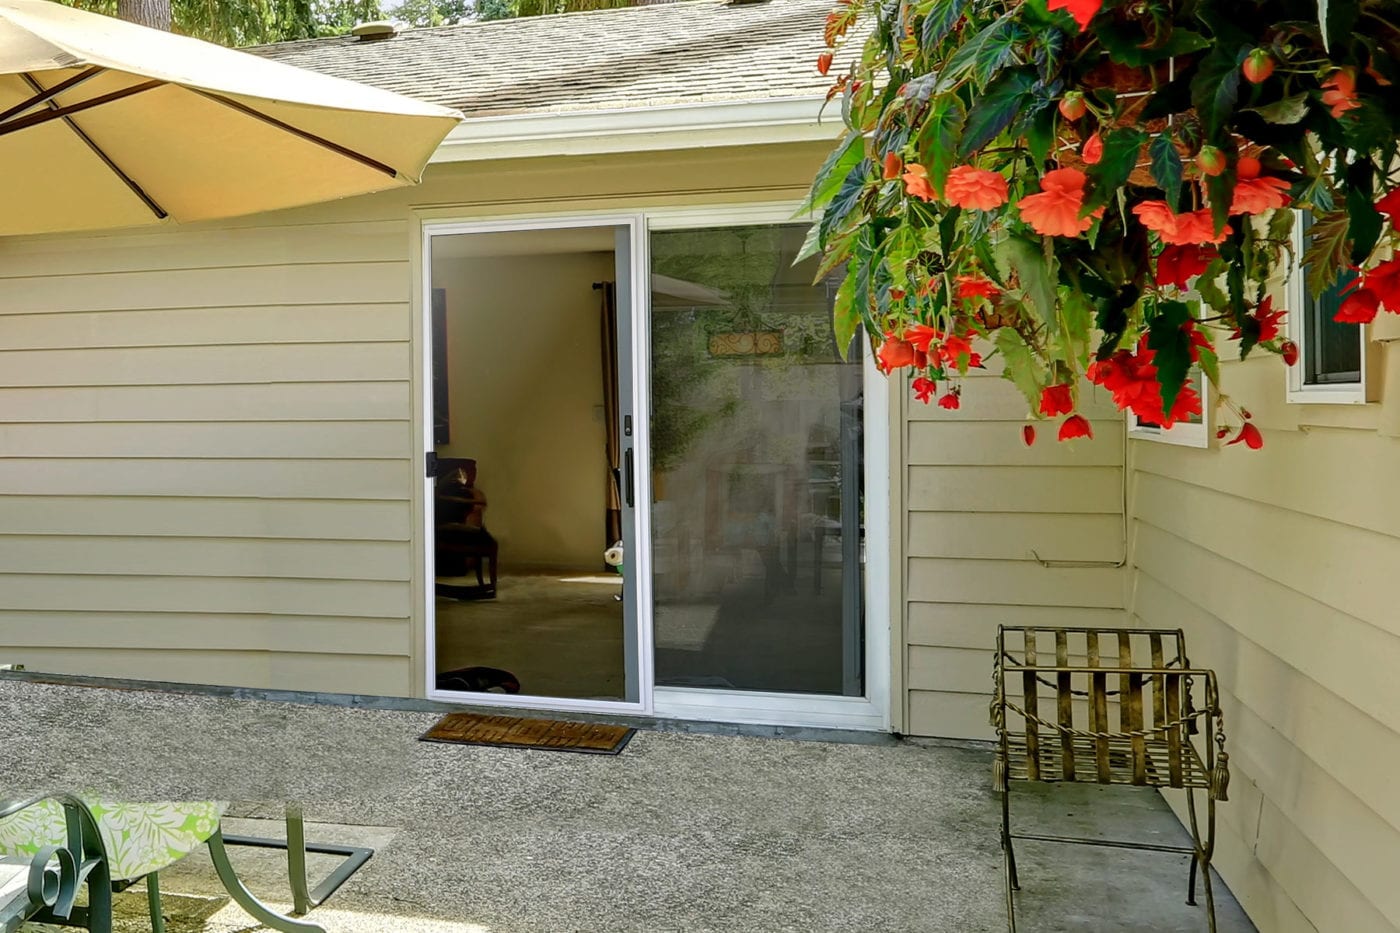
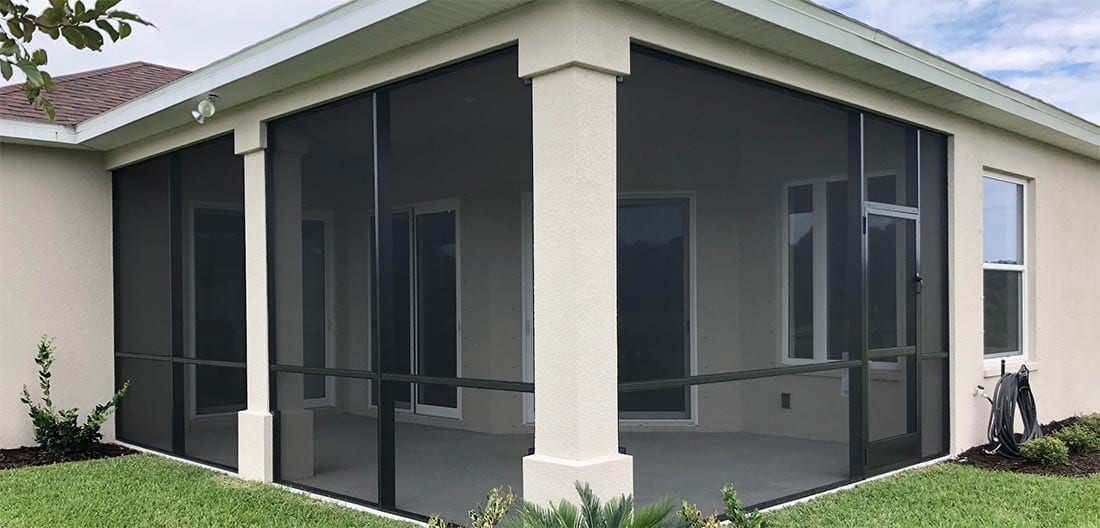
We love hearing about all the porch, patio and deck screening projects that our customers complete throughout the year. This project came from Donald in Pittsburg who chose Mini Track because of its simple two-part system and ultra low profile aluminum channel. This was Donald’s first time using Mini Track and he shared some useful tips-and-tricks for other do-it-yourselfers:
Hold the Screen In Place Temporarily
Attach the screen to the porch framing with a few screws to make the entire job a lot easier — especially if you’re screening a porch by yourself. Simply attach the screen to the porch frame while you roll in the spline for the other sides. Then remove the screws, roll in the spline on the final side and trim off the part of the screen that has the screw holes.
Use a Pilot Hole Spacing Template
Make a screw spacing template to speed up the process of drilling pilot holes. Donald did this with a 4 foot section of lattice and marked the holes he needed to drill. Each 8 foot length needs about 12 screws, so it’s useful to pre-drill as much as possible.
Improve Workability of Spline with Warm Water
Mini Track spline is pretty easy to work with but temperature can have a big impact. Donald had the innovative idea of soaking the spline in warm water briefly so that it becomes more pliable. This is an especially useful trick if you’re screening in cooler weather.
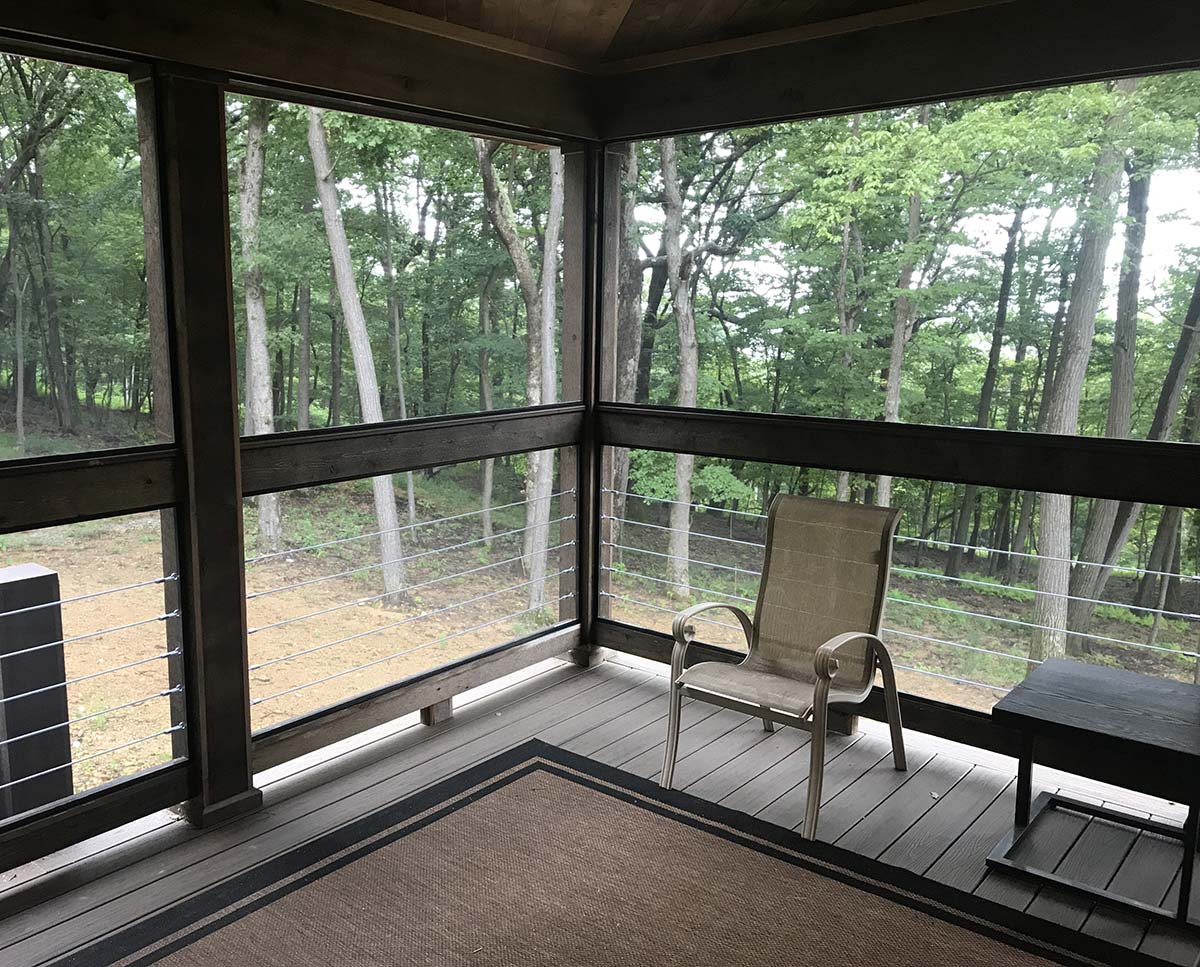
The end result looks fantastic and is a great example of a DIY screened-in porch.
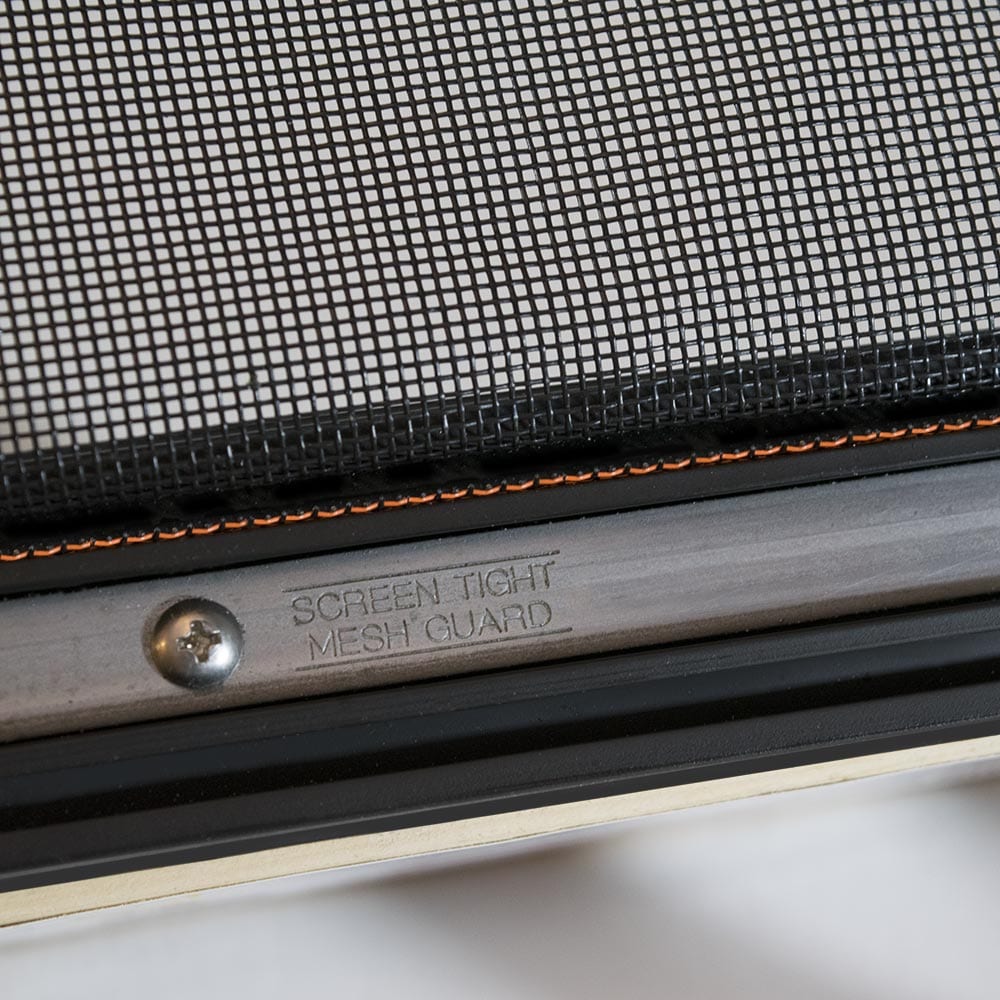
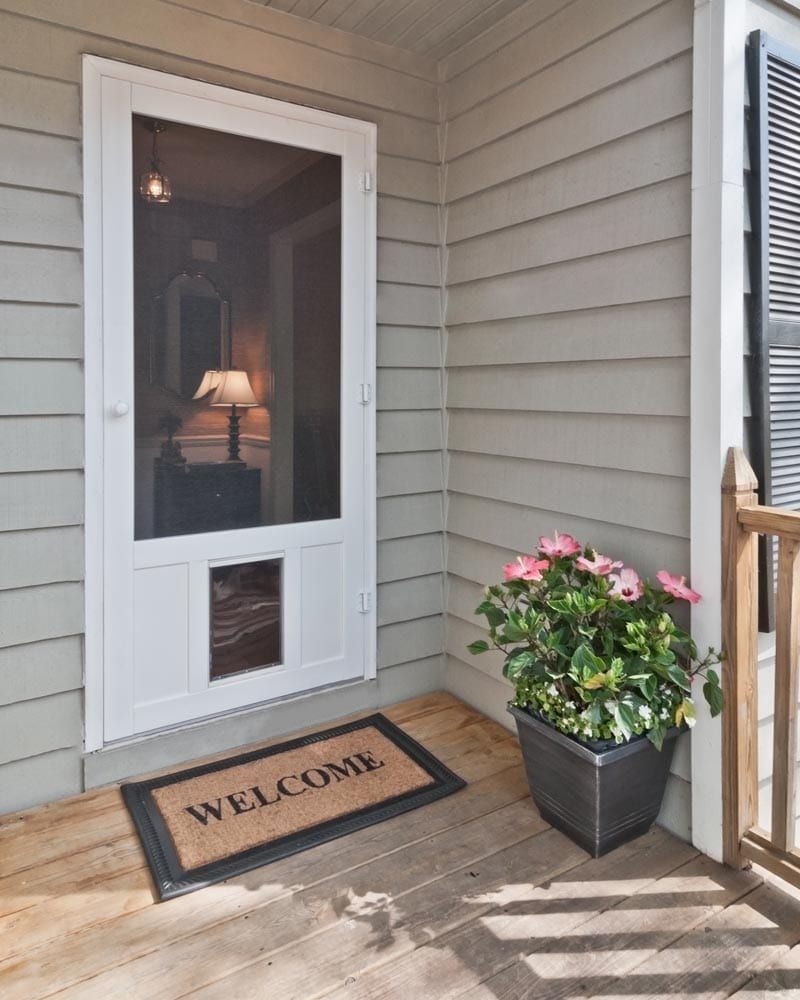
For added protection, Donald’s porch incorporates a pet guard in his screen door and cable rail for his guardrail infill.