


Project Profiles
Screened-in Under Deck Project
May
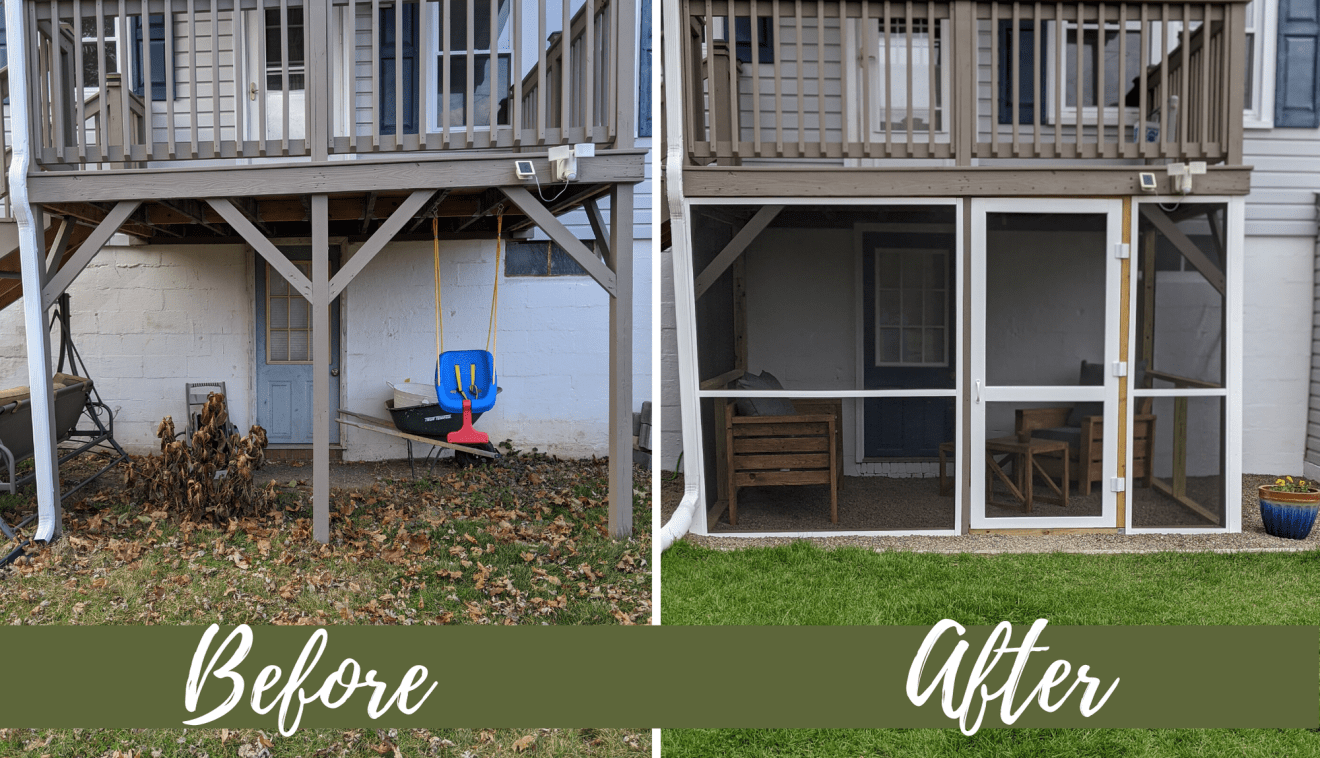
Cortney, from this Everyday Life of, recently completed transforming her under deck space into a relaxing, “screened-in retreat” (as she called it). She documented her whole experience with Screen Tight in two blog posts on her site.
About the Project
Her first post simply titled, “Screen Tight Under Deck” documented the “how-to’s” of the project. She starts with sharing our Screen Porch Planning Worksheet and Calculator, stating that this is what she used to map out the space and determine the needed supplies.
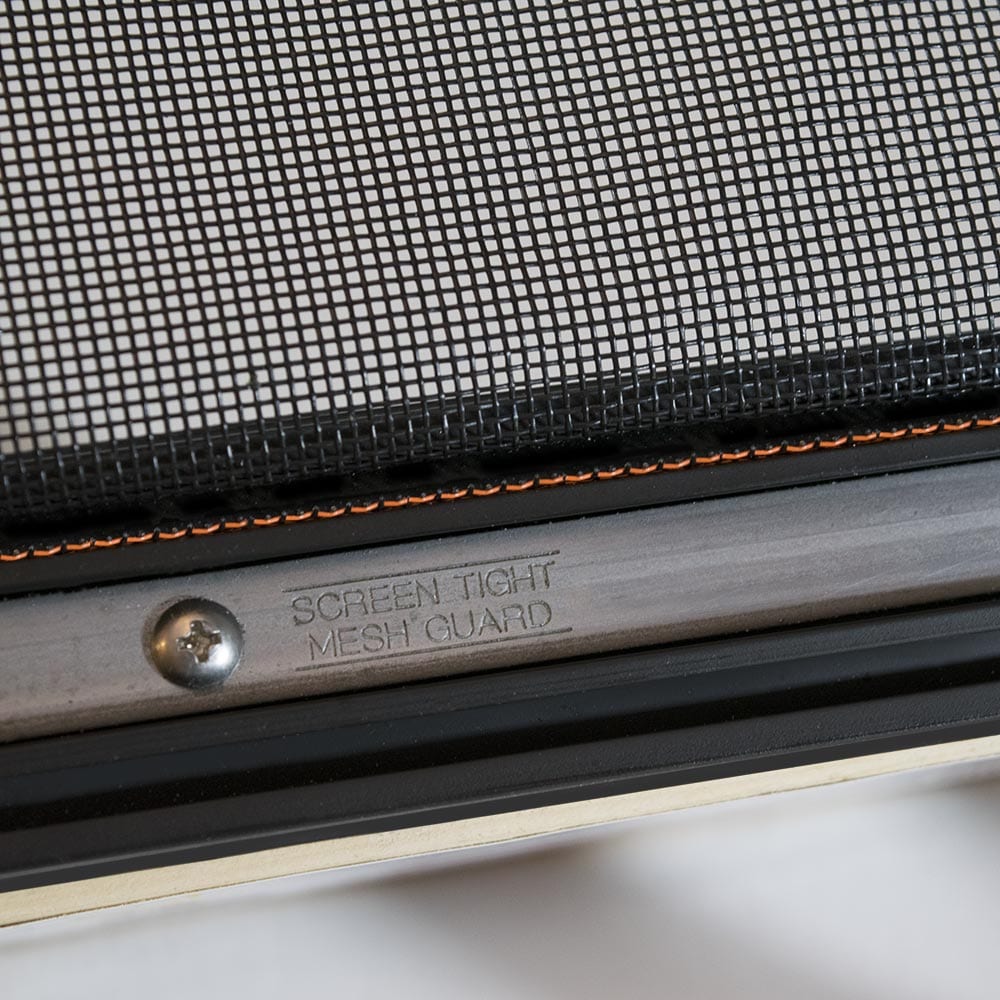
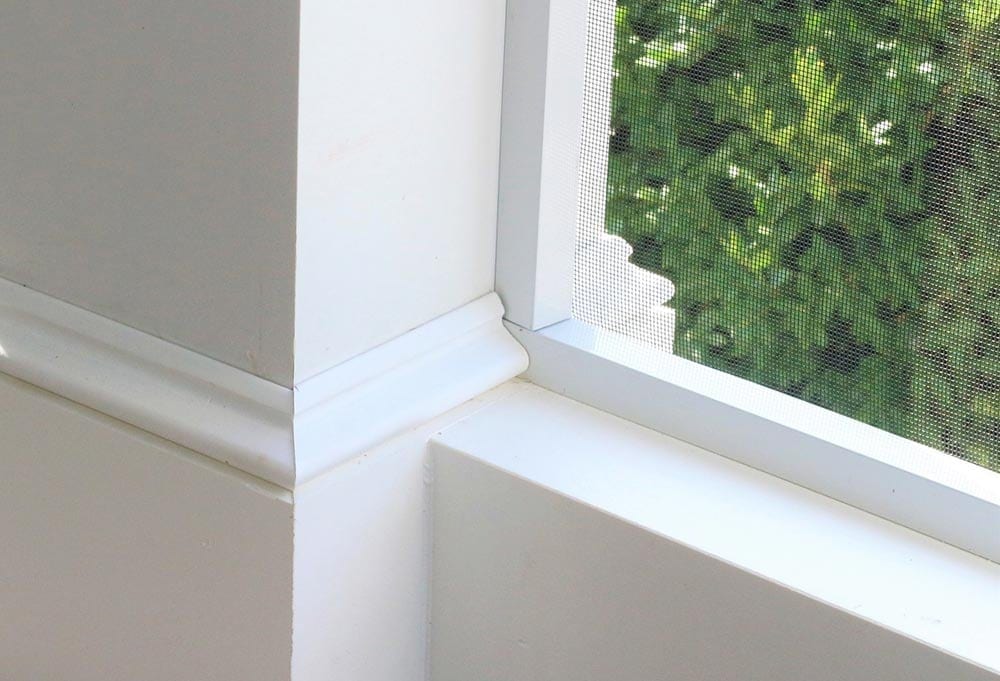
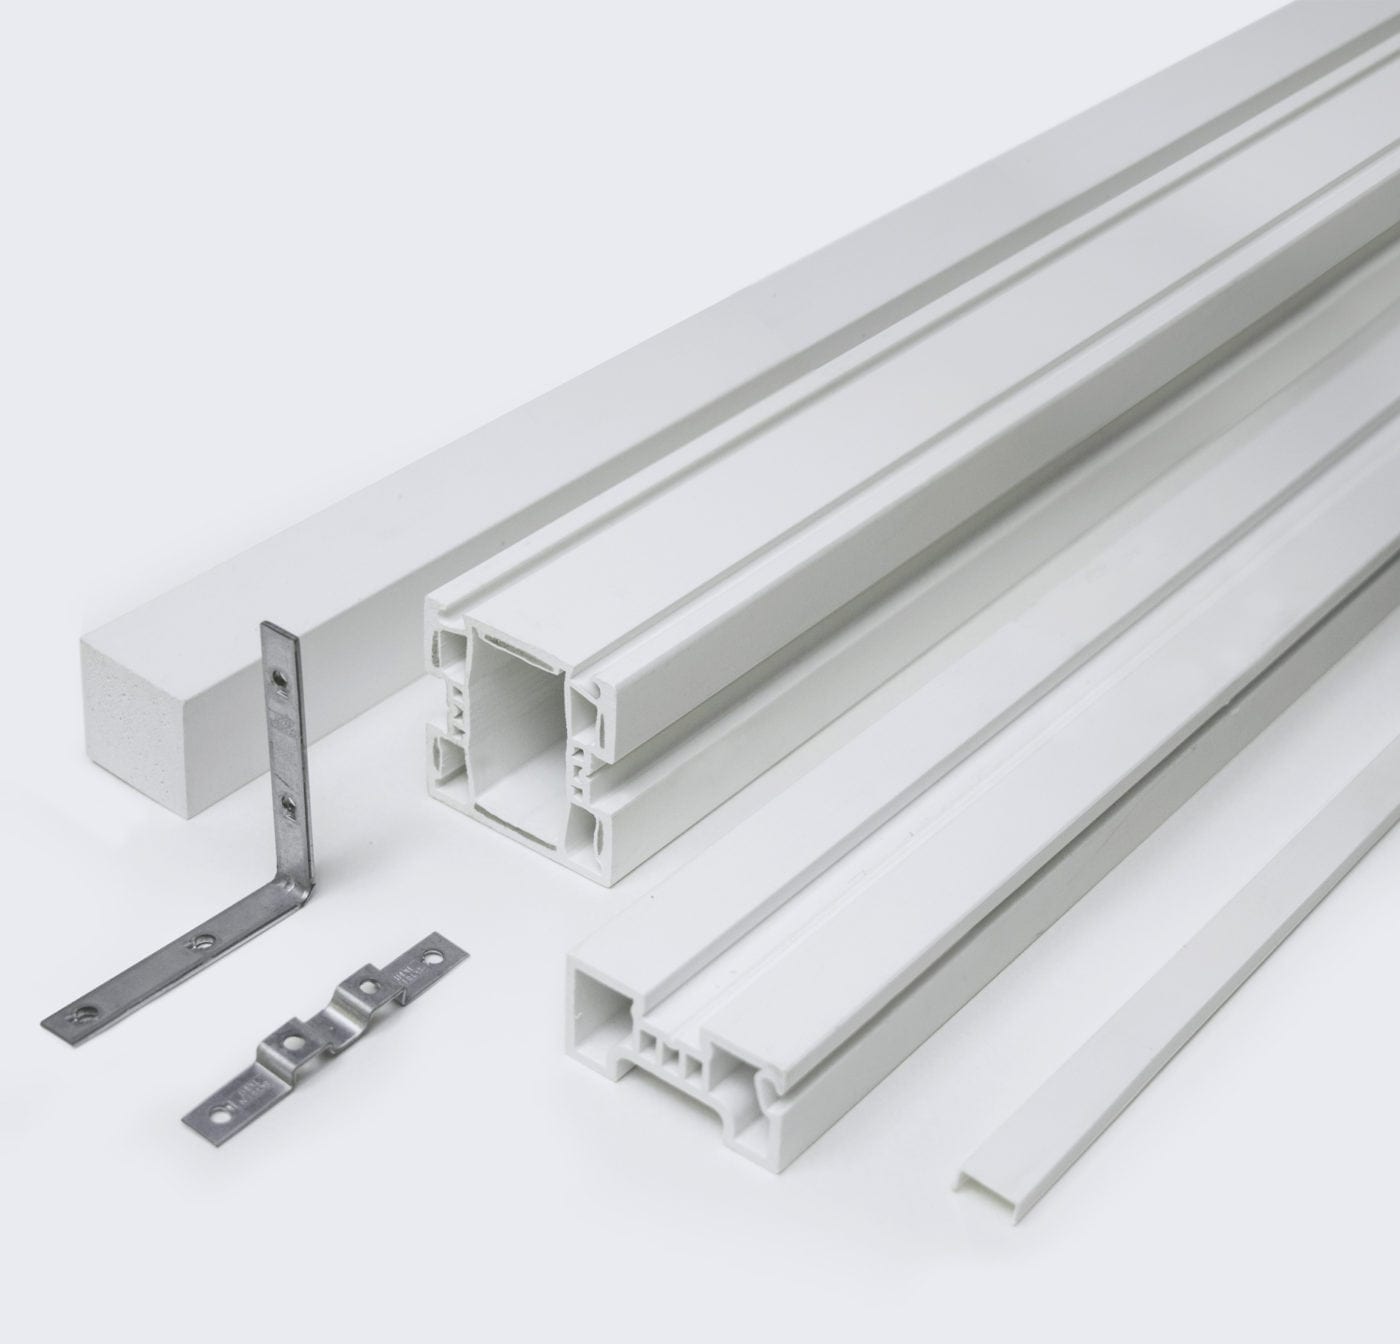
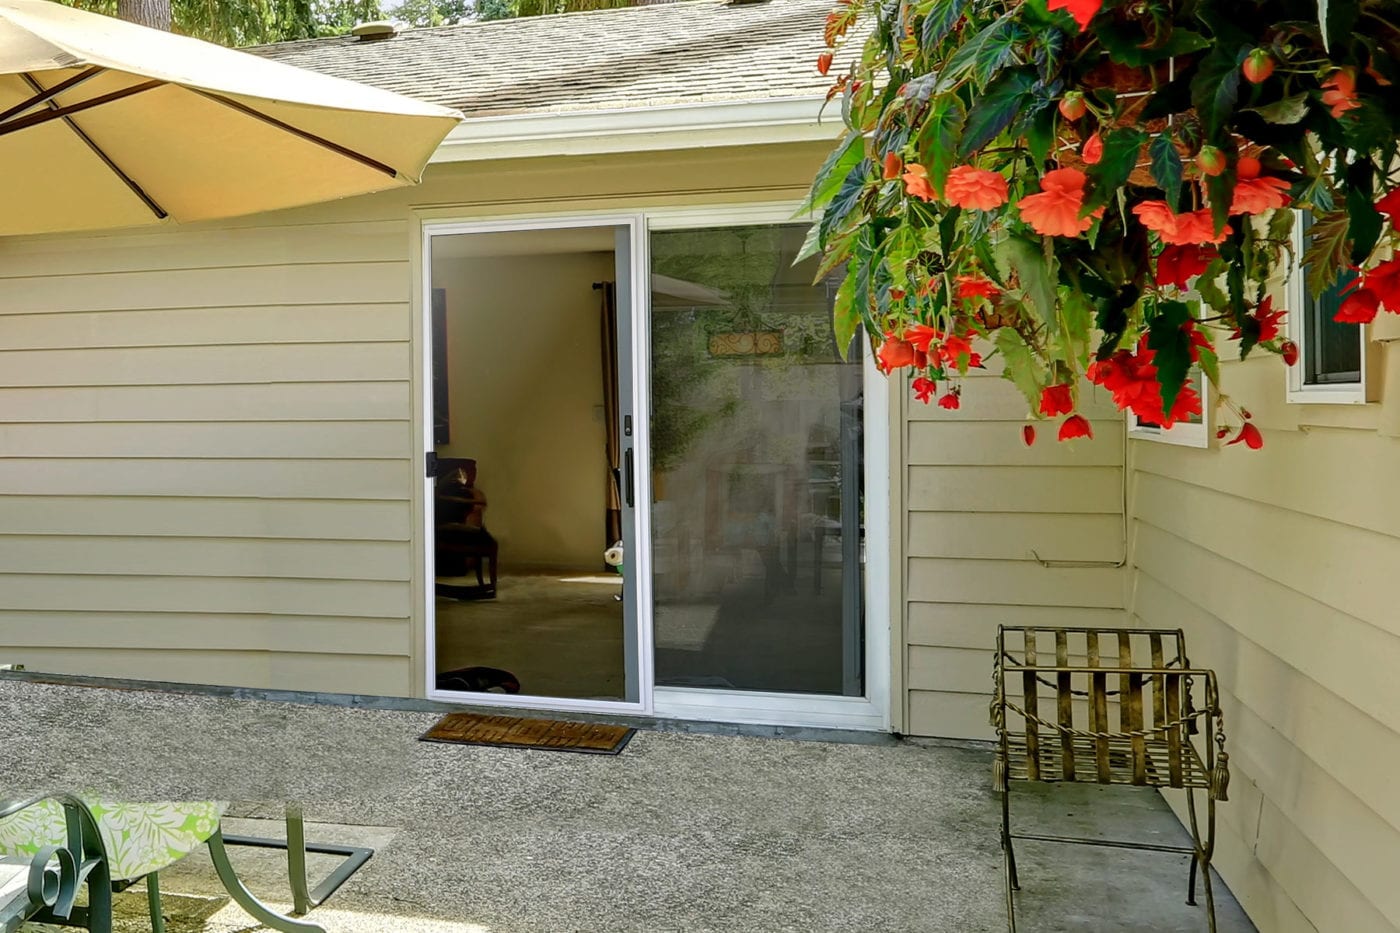
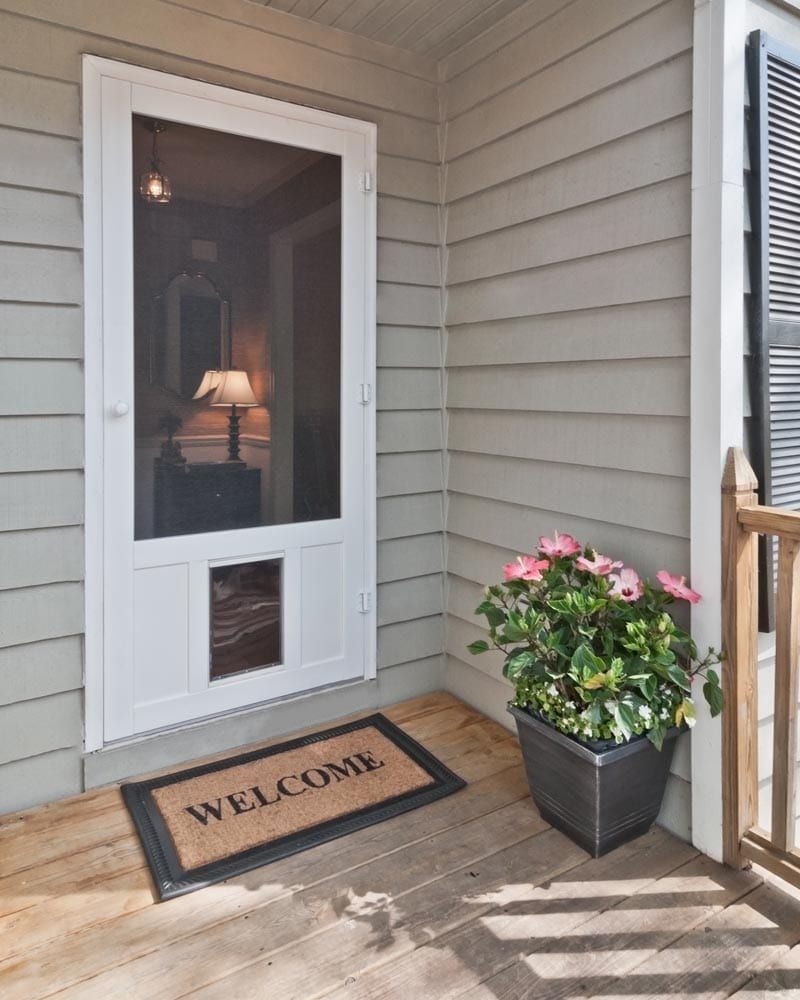
She then shared the materials she used for her project. Her project used our original Screen Tight screening system which included the Screen Tight base, cap, round spline, fiberglass porch screen, and roller knife. She also installed our VinylCraft Screen Door. Cortney stated that the only other supplies she needed were lumber for the framing and screws to put everything together.
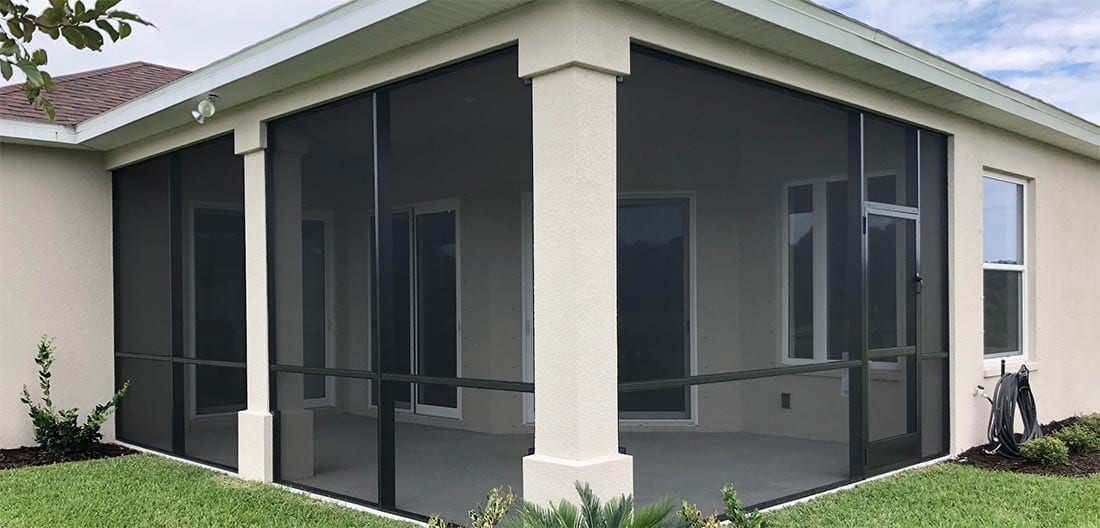
Next, she shared how she prepped the area and how she installed the screening system. She stated that she began by installing the base stirp to to the wood framing. Then she rolled out the screening and use the roller knife to put the spline into place. Lastly, she snapped the caps onto the base strips.
Regarding the installation, Cortney stated, “Attaching the Base strips and Caps were fairly easy for me to complete during nap times with the help of a few clamps. However, installing the Screening and Spline is definitely easier with a second person, but it can be done by yourself as well with a little creativity.”
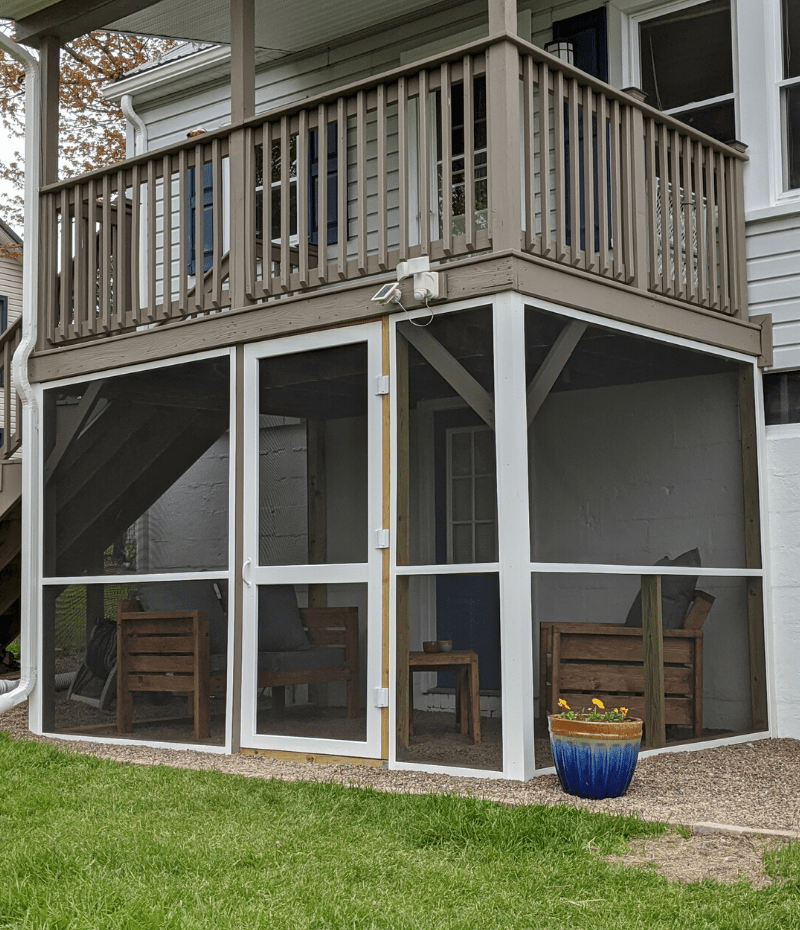
Other Enhancements to the Space
In addition to screening in the under deck, Cortney also shared some other improvements she made on the space in her post titled, “Our Screened In Retreat“. This included filling in the interior and exterior of the space with River Gravel. She also purchased some cushion sets and her husband built custom chairs and benches for them. Lastly, they built nesting tables to finish off the space.
Cortney broke down the total cost of the project. The total for her completely redone “screened-in retreat” came out to just over $2000. This included not only the screening system, but also the lumber, gravel, furniture cushions and materials, as well as paint and primer for the walls and door.
Regarding the entire project, Cortney stated, “This project definitely took us a little longer to put together due to weeks of uncooperative weather, but like I said before, this is a very simply DIY and really could be put together fairly quick with nice weather. Overall, everything looks beautiful – besides the few new dead areas of grass in the yard!”.