


Project Profiles
The Screen Project Part 2: Trouble is Building

Dec
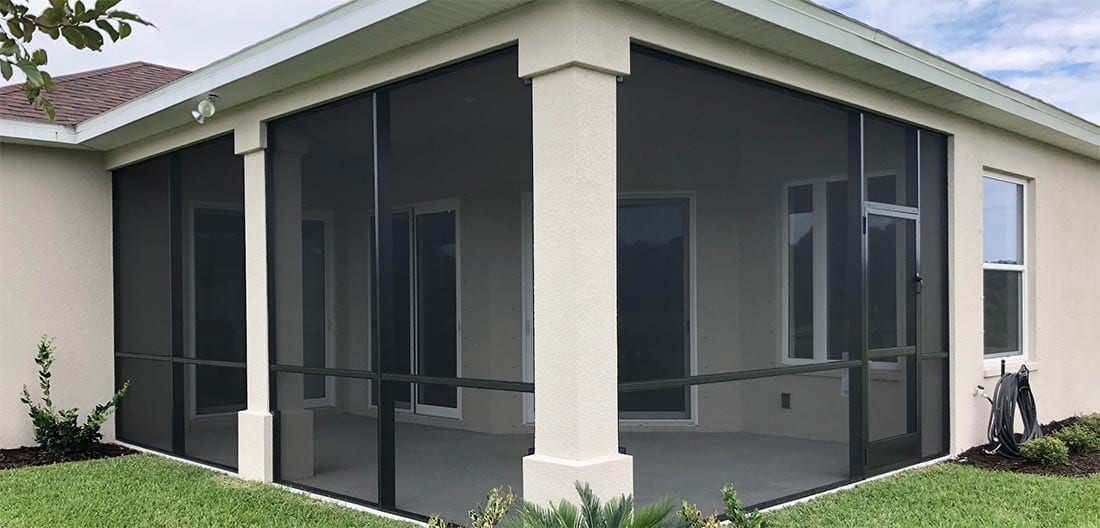
If you haven’t had a chance, go back and check out The Screen Project Intro and Part 1 to get the full scope of the project. In this episode, Eric troubleshoots some common issues that arise when installing the Mini Track system including cutting the track and what spline to use.
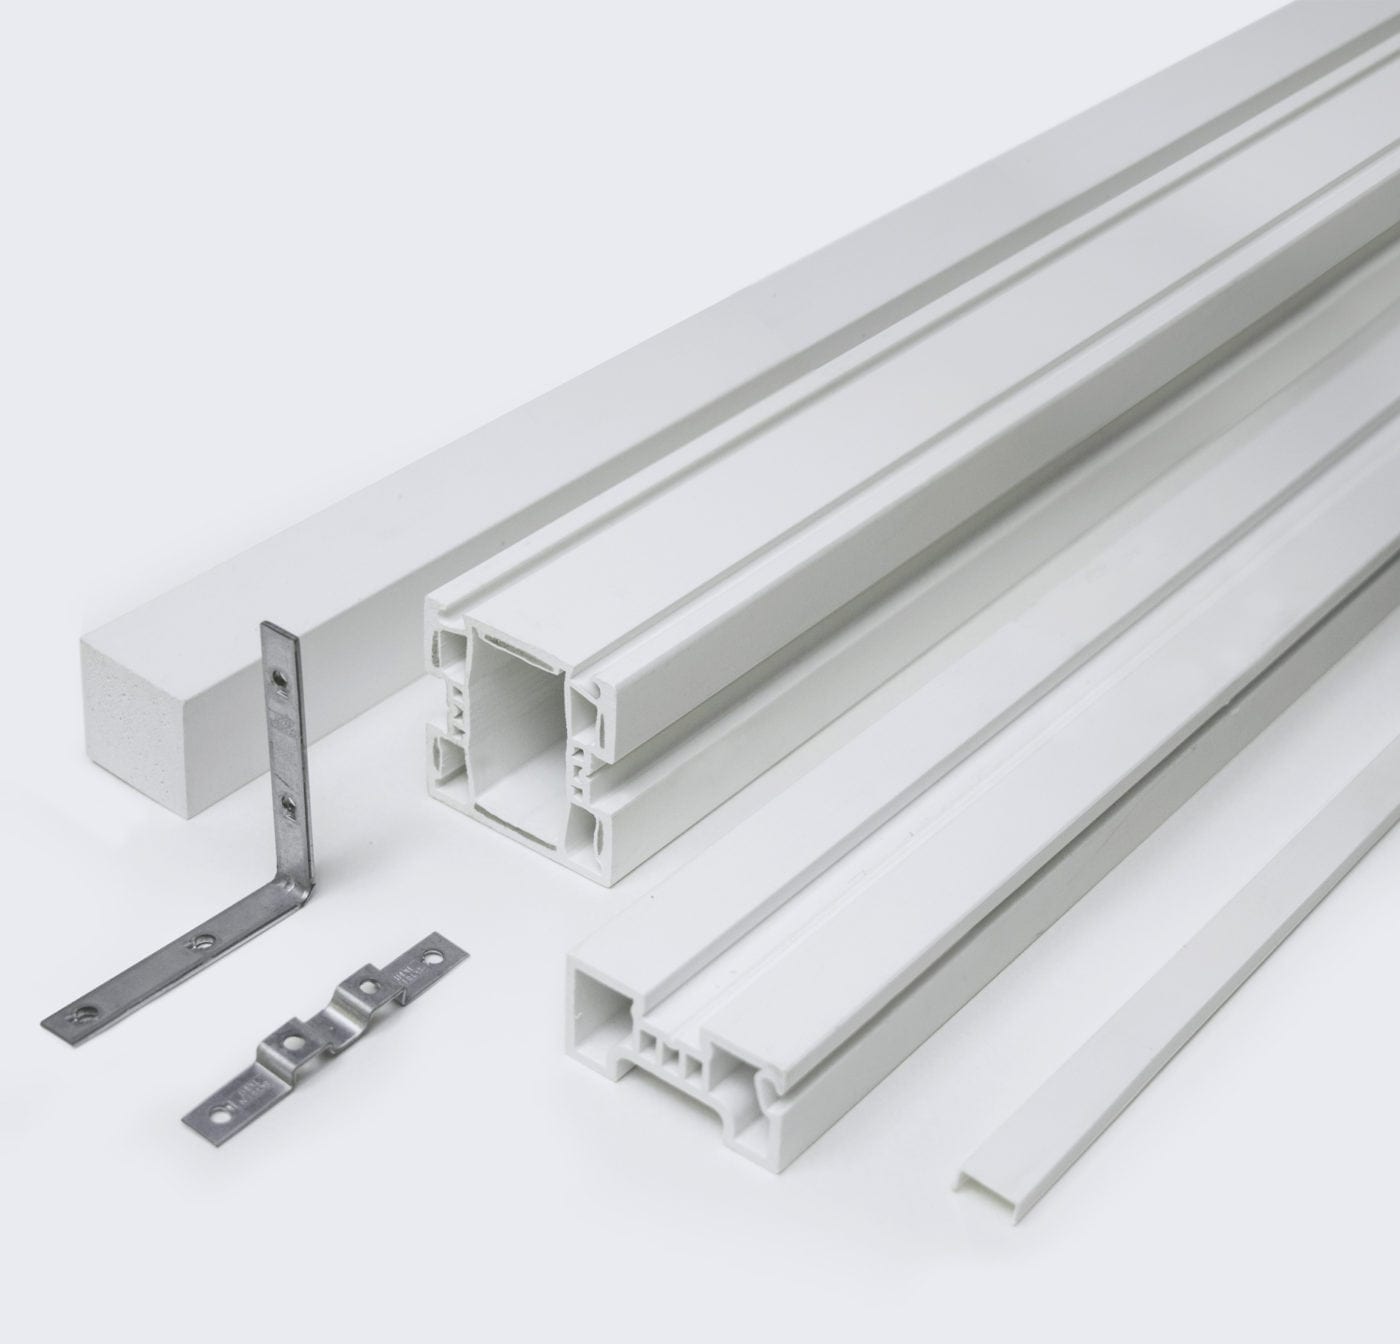
After Eric marked and installed screws in the pilot holes for the track, it was time to cut the track. Eric used a regular chop saw to cut the aluminum track. He quickly realized that there was a right and a wrong way to cut the track.
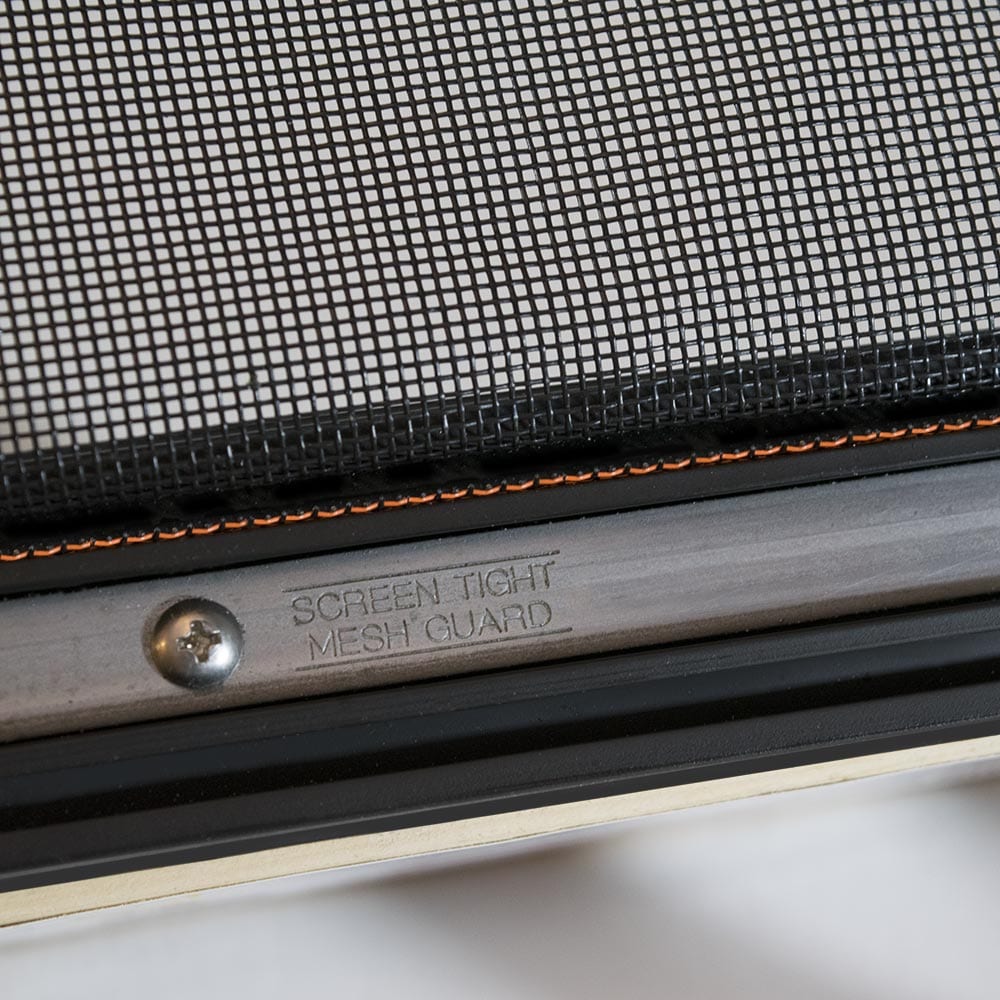
The track features two flat edges, a track-side that connects to the wall, and a rigid side where you connect the screen with spline. The right way to cut the track is with the track-side down and the strongest edge where the two flat sides meet facing the saw. Doing it this way will ensure the cleanest cut. Eric, however, learned the hard way about this approach, after cutting the track with the spline side facing the saw blade causing a very rough, uneven, sloppy cut.
The next issues Eric ran into was with the spline. His project required a thicker gauge screen due the size of the window openings and having two small dogs. He originally tried to screen the system using the square spline that comes with the Mini Track system. However, this was very cumbersome and time consuming due to the thickness of the screen. After consulting with the Screen Tight rep, Eric switched to a round spline which made the screening process much simpler.
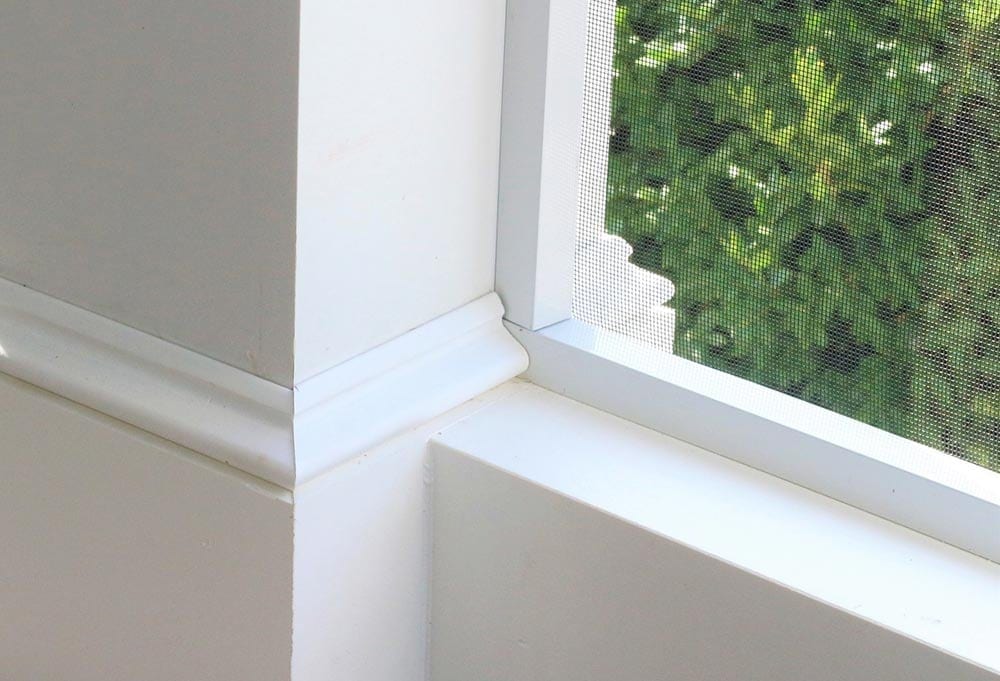
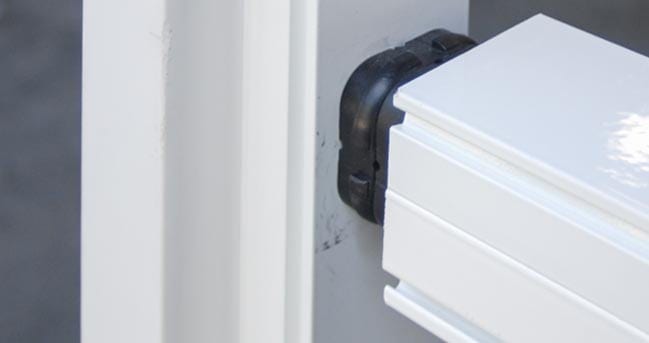
In this episode, Eric also demonstrated how to install the track. He simply slid the track over the screws he had in place and used a non-marking mallet to pound where the screws were to secure the track in place.
Stay tuned for the next episode where Eric discovers some new rot on his existing porch structure and adds finishing touches to his new screen porch.