Tools Needed:
1. Rollerknife
2. Hack Saw
3. Utility Knife
4. Hammer
STEP 1
Measure:
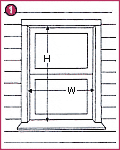
Measure the height & width of the window opening where the frame will be installed.
STEP 2
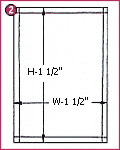
Marking: Mark Aluminum frames to height (H-1 1/2″) & width (W-1 1/2″) Each corner adds 3/4″.
STEP 3
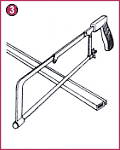
Cutting: Cut marked pieces with hacksaw. If your frame exceeds 3′ in height, cut an additional (W-1 1/2″) for use as a cross brace.
STEP 4
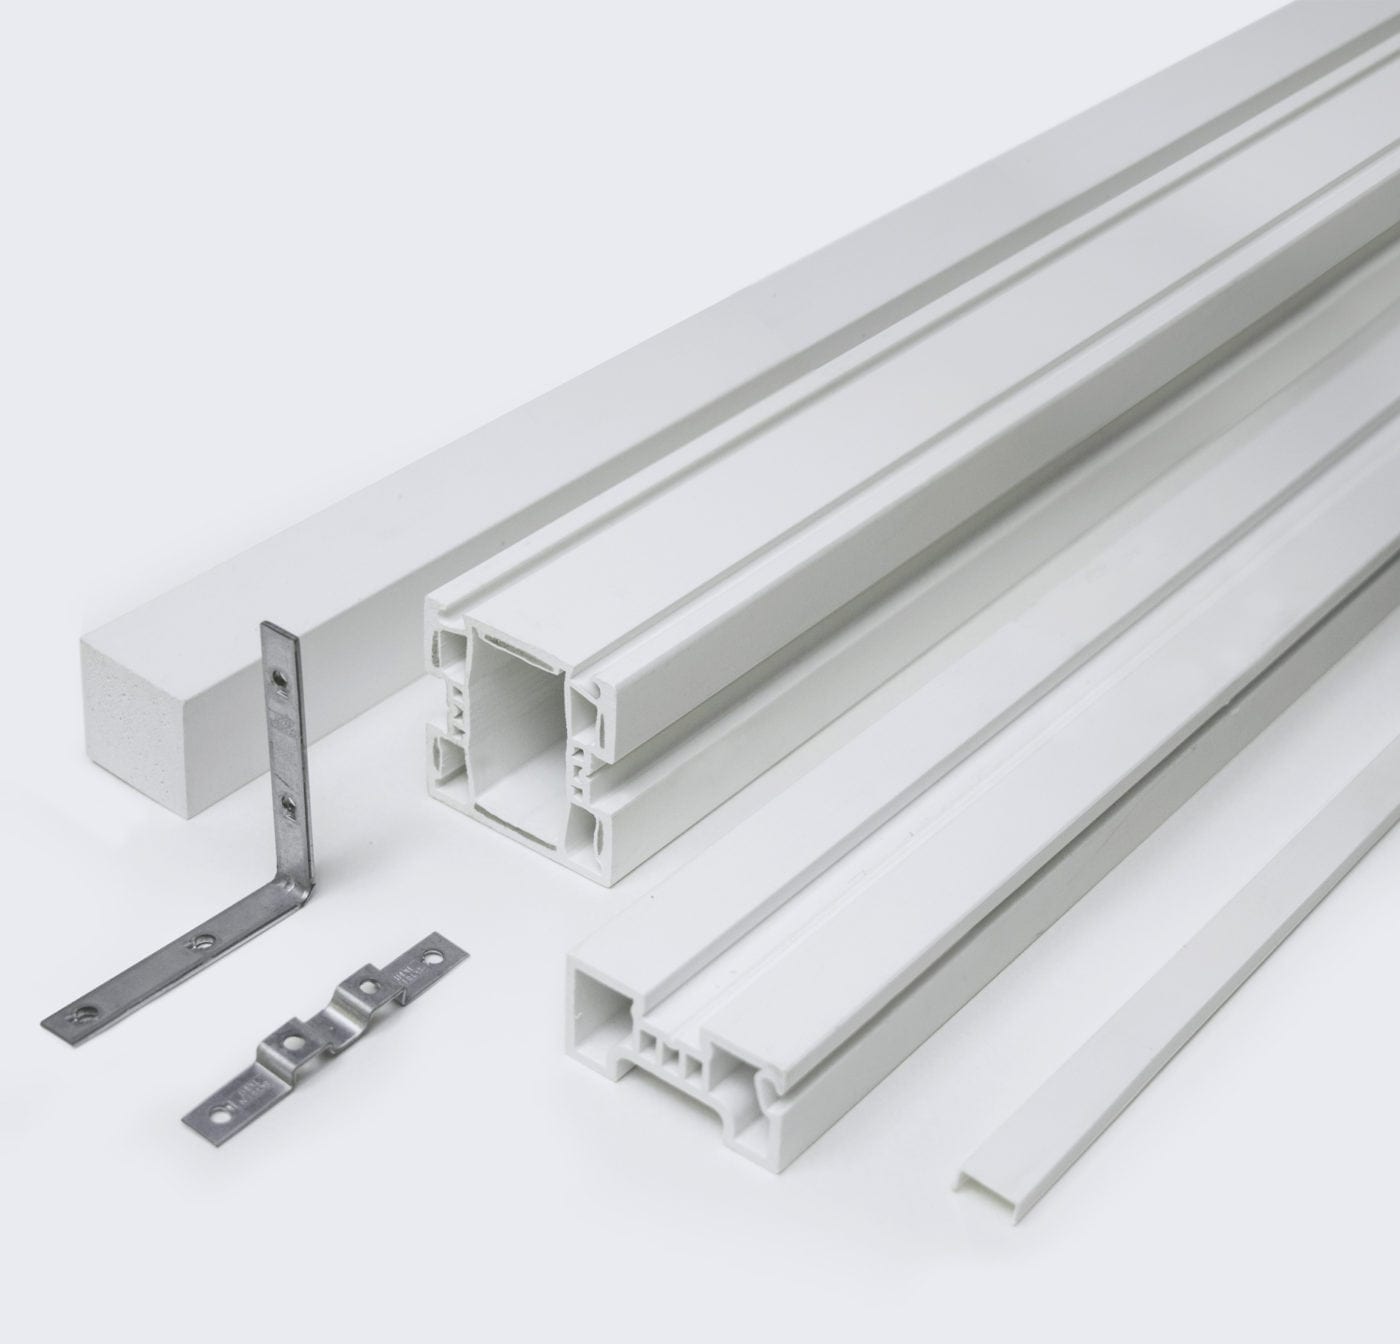
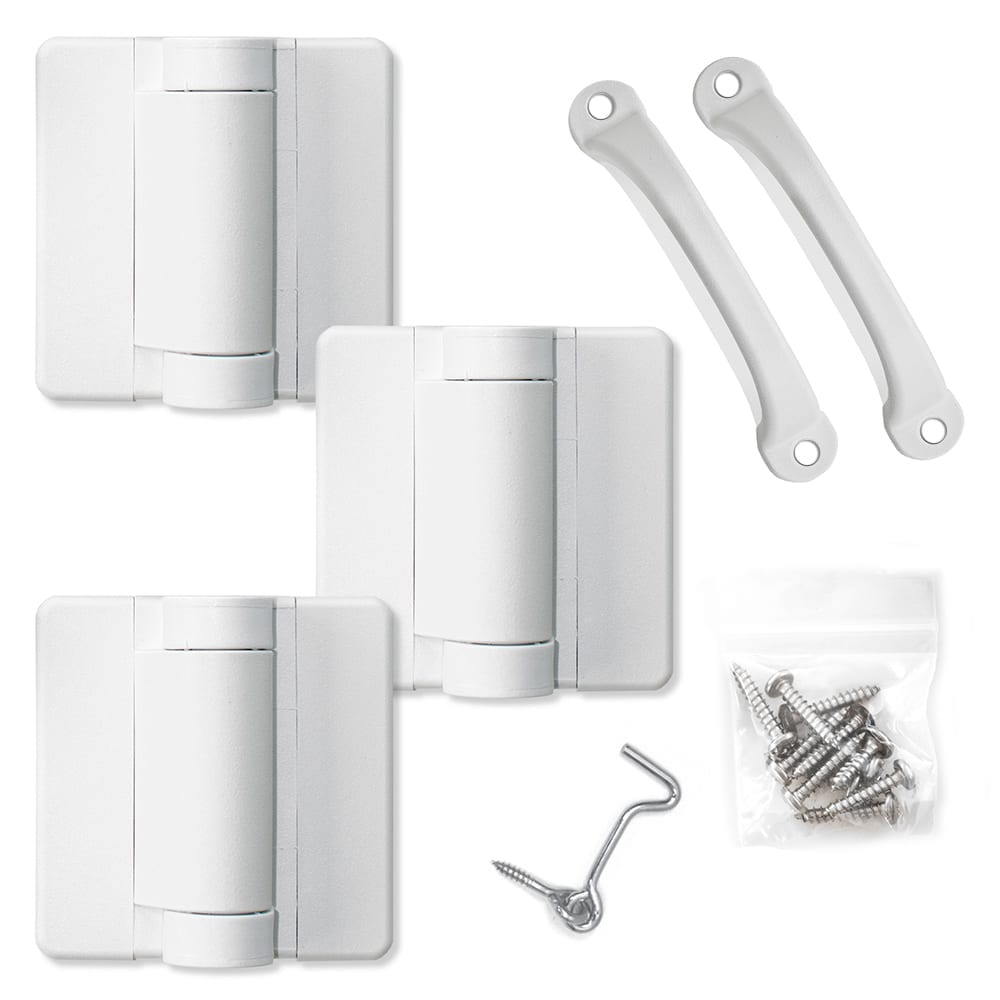
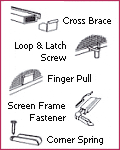
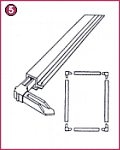
Assembly: Install hardware (see options below) and insert corners into frames vertical pieces first, then attach each vertical piece to the horizontals.
STEP 5
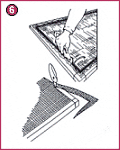
Rolling Screen: Roll Screen into spline groove with 9/64″ or .160 spline. Spline will hold in hardware. Trim excess screen with Utility knife or blade from Roller knife.
Hardware Installation Tips
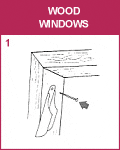
Wood Windows: Attach Screen frame fasteners to outside frame of window. Nail 1/4″ to 1/2″ from top of window on each side.
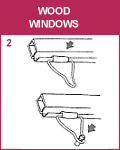
Wood Windows: Insert Loop Latch into spline groove on bottom of screen frame. After complete assembly, insert screw into inside of window sill.
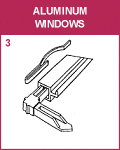
Aluminum Windows: Insert Corner Spring into bottom piece of vertical frames.
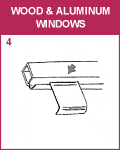
Wood & Aluminum Windows: Insert pull tabs into spline groove on bottom of screen frame.
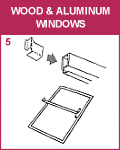
Wood & Aluminum Windows: Slide cross brace clips into crossbar frame & attach midway into assembled frame. The crossbrace pieces will fit into spine groove.


