How To

Get Started with Screen Wall

Plan your porch project using the Screen Wall calculator to estimate supplies.

Tools & Supplies

Screen Wall Components

Screen Wall PVC Components

Screen Wall Hardware

Screen Wall Hardware

Fiber Glass Screen

Fiberglass Screen

Square Spline

Flat Spline

Roller Knife Screen Tool

RollerKnife

Chop Saw or Hacksaw

Chop Saw or Handsaw

Power Drill

Power Drill

How to Buy

Grid Icon

Measure your Porch

Estimate your supplies by using our porch planning worksheet to measure your area and any existing structures that need consideration.

Download Worksheet
Shopping Cart Icon

Find a Retailer

Once you have your measurements, find a hardware retailer near you to get everything you need to create a beautiful porch.

Dealer Locator

How to Install Screen Wall

Screen Wall Components

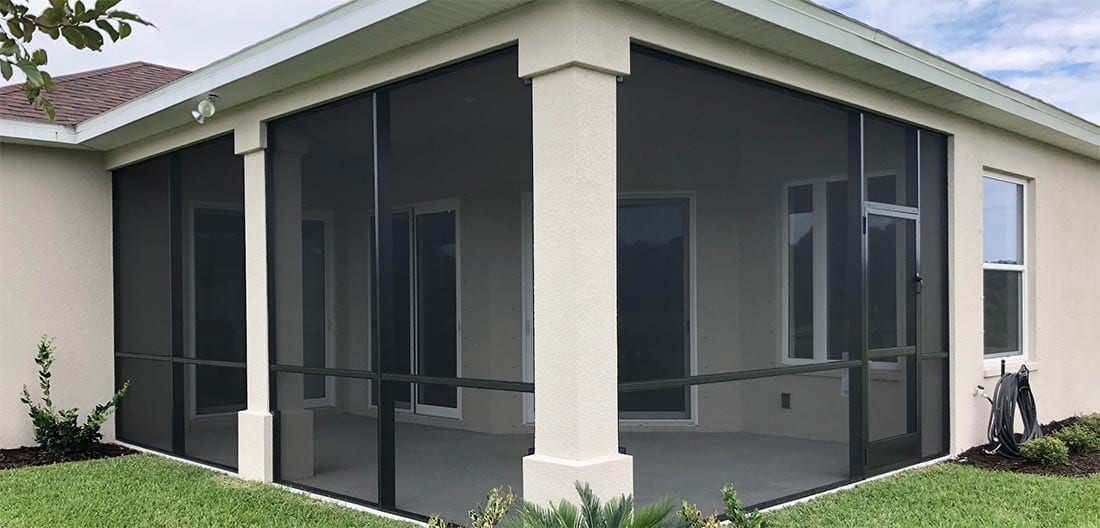
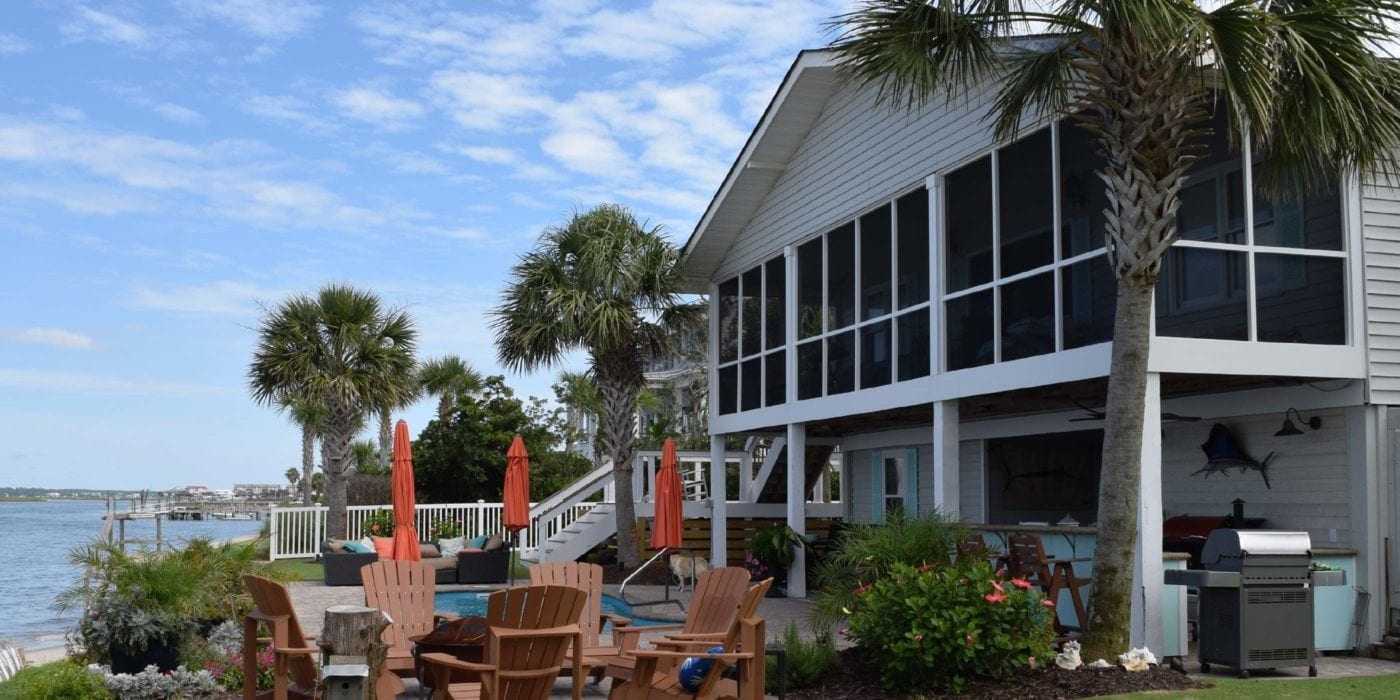
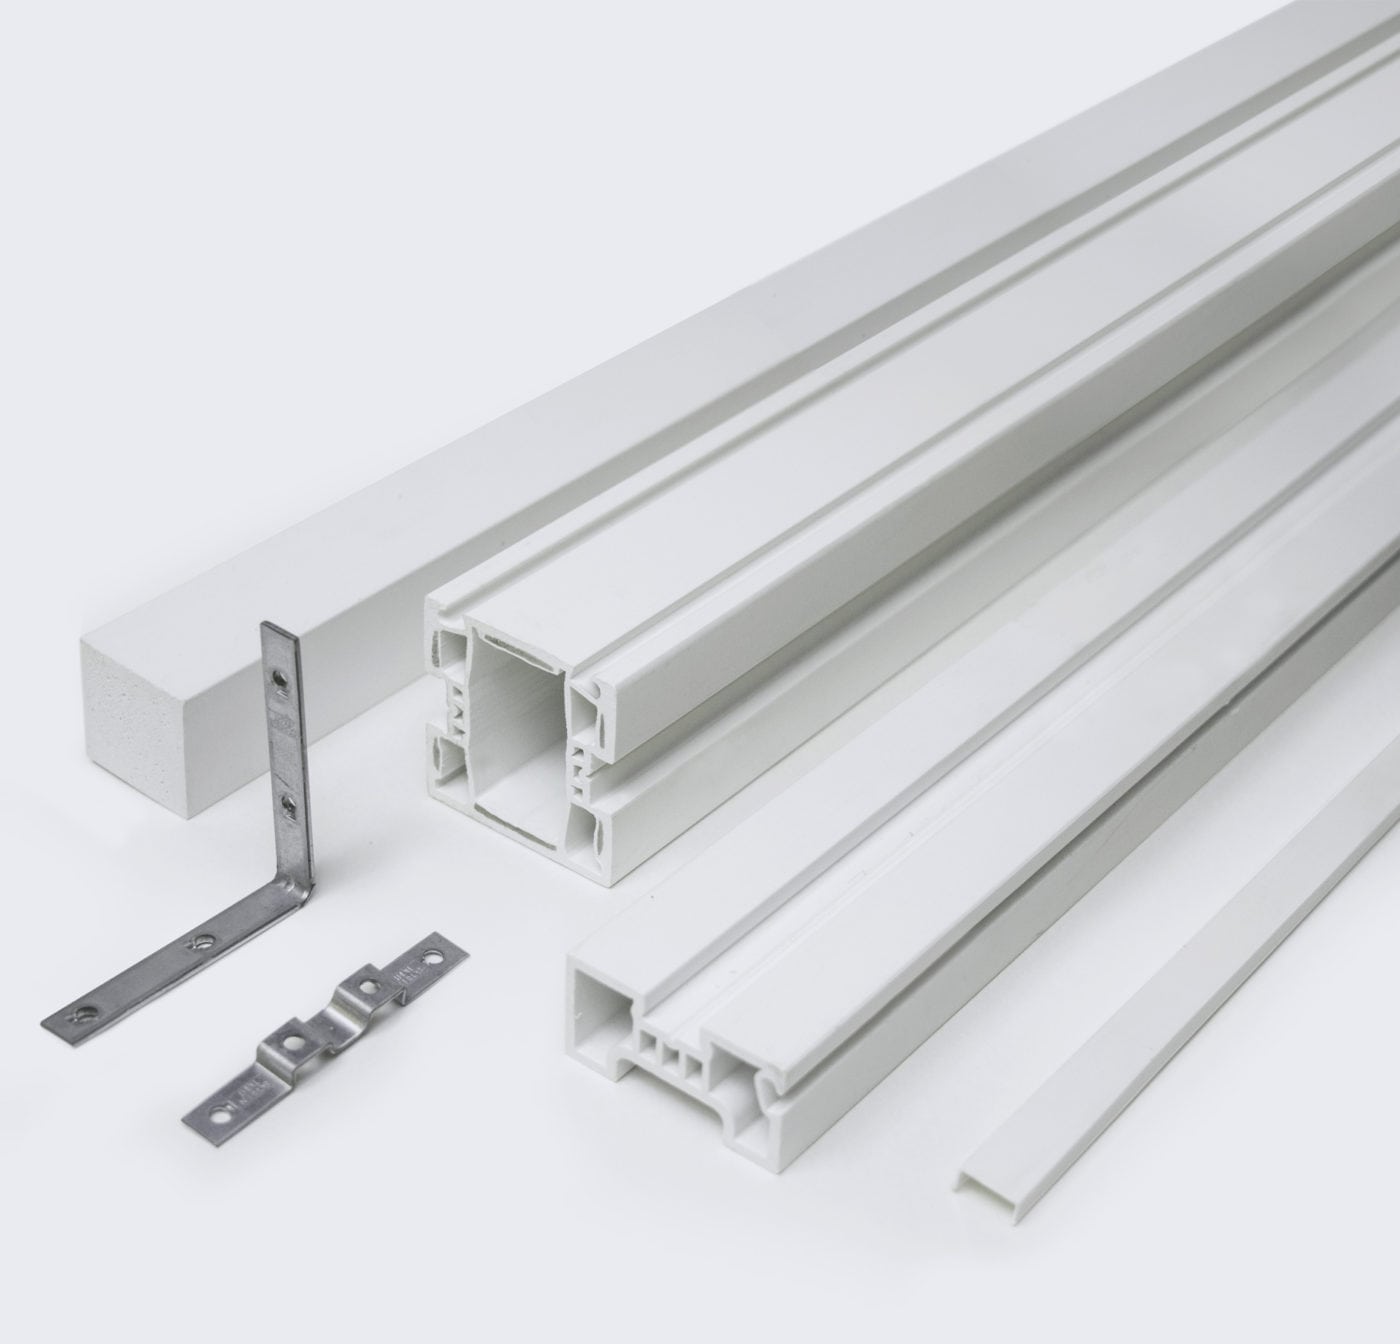
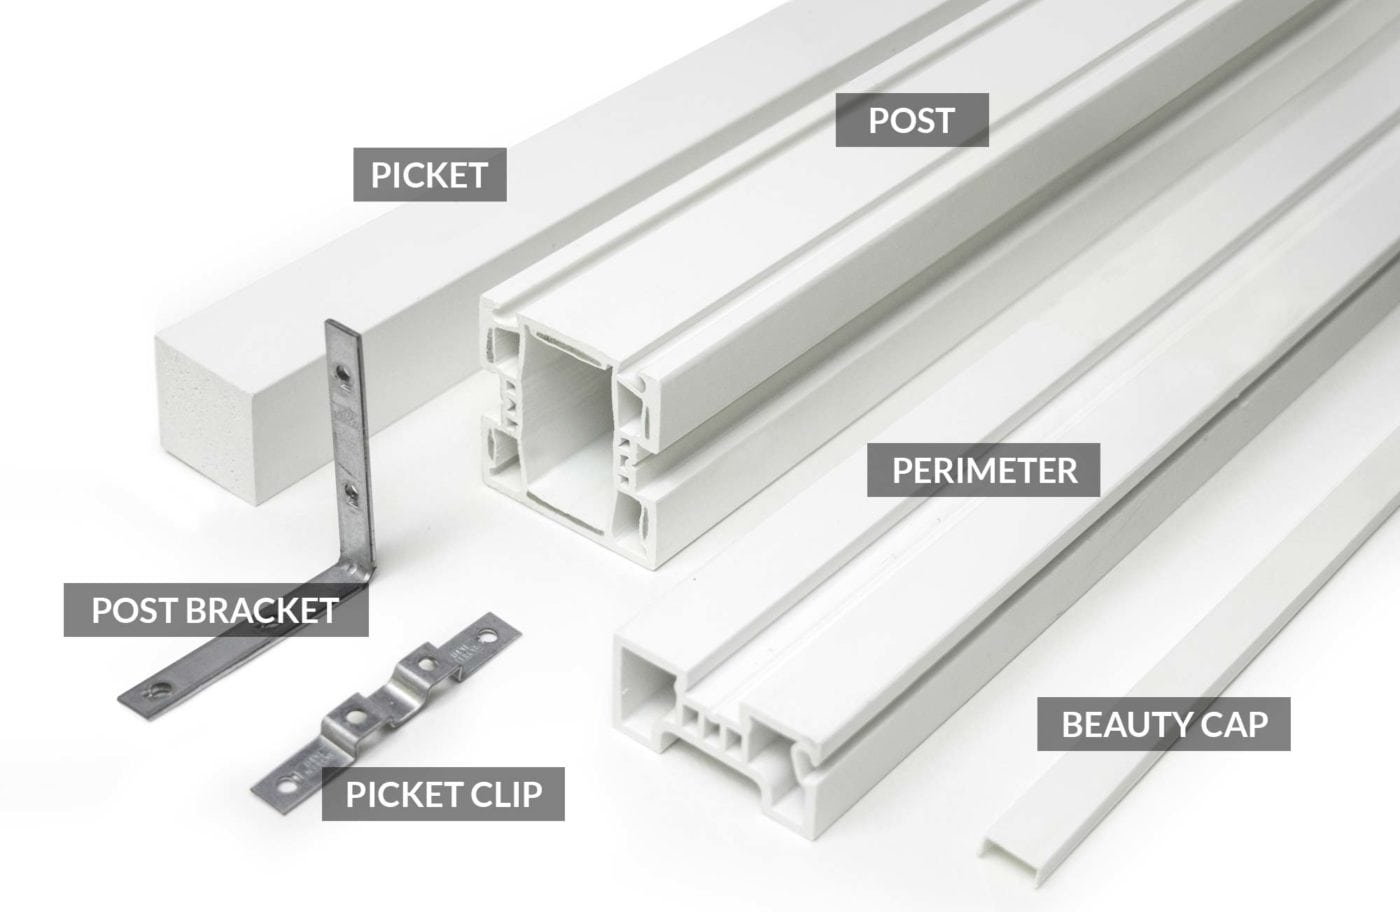
Trim & Attach Perimeter

Attach perimeter components to all outer framework of porch with Screen Wall 2-in Screws. This includes any weight bearing posts, flooring, and beams that will assist in forming the structure of the porch. Depending on your porch details, a Screen Wall project could consist of only perimeter components without posts.

Install Posts & Rails

If you have wide openings, you may need to install a Screen Wall vinyl post. Measure the length of your opening and divide the even sections. To install the post you’ll need to use Angle Brackets to secure it in place.

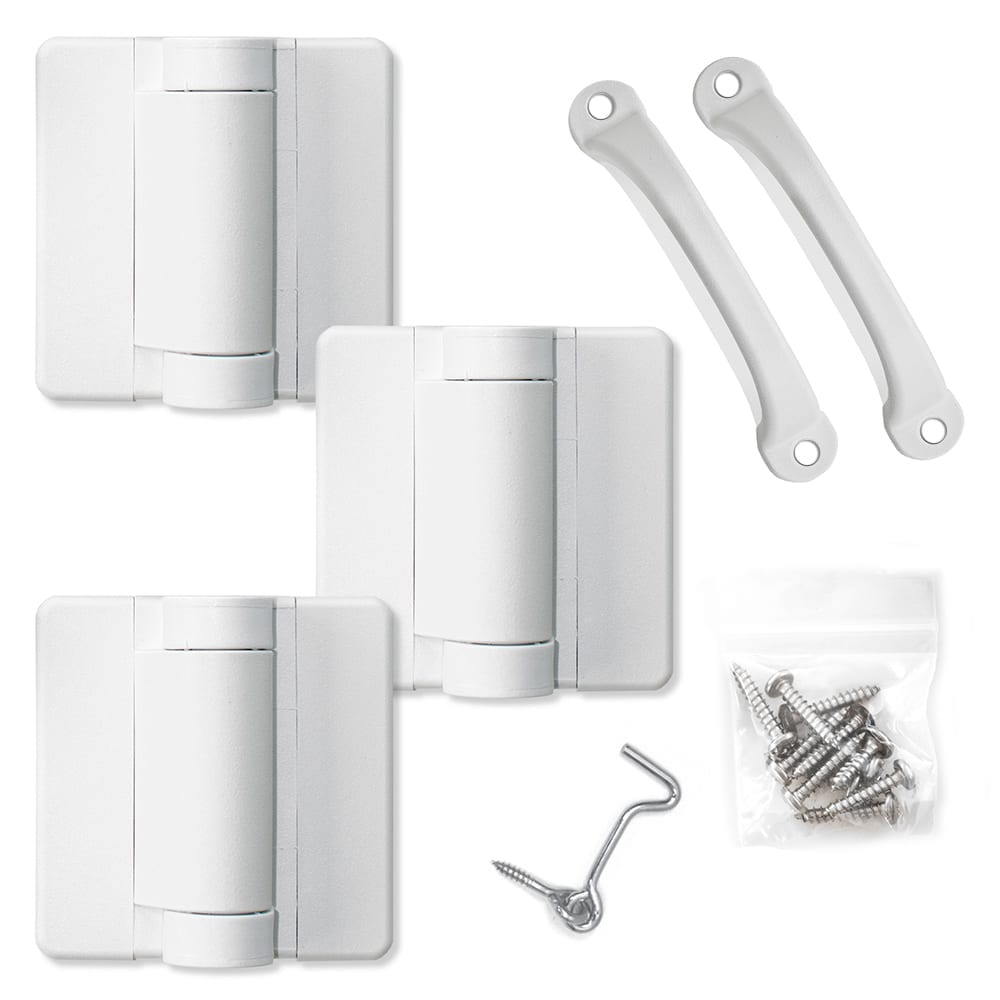
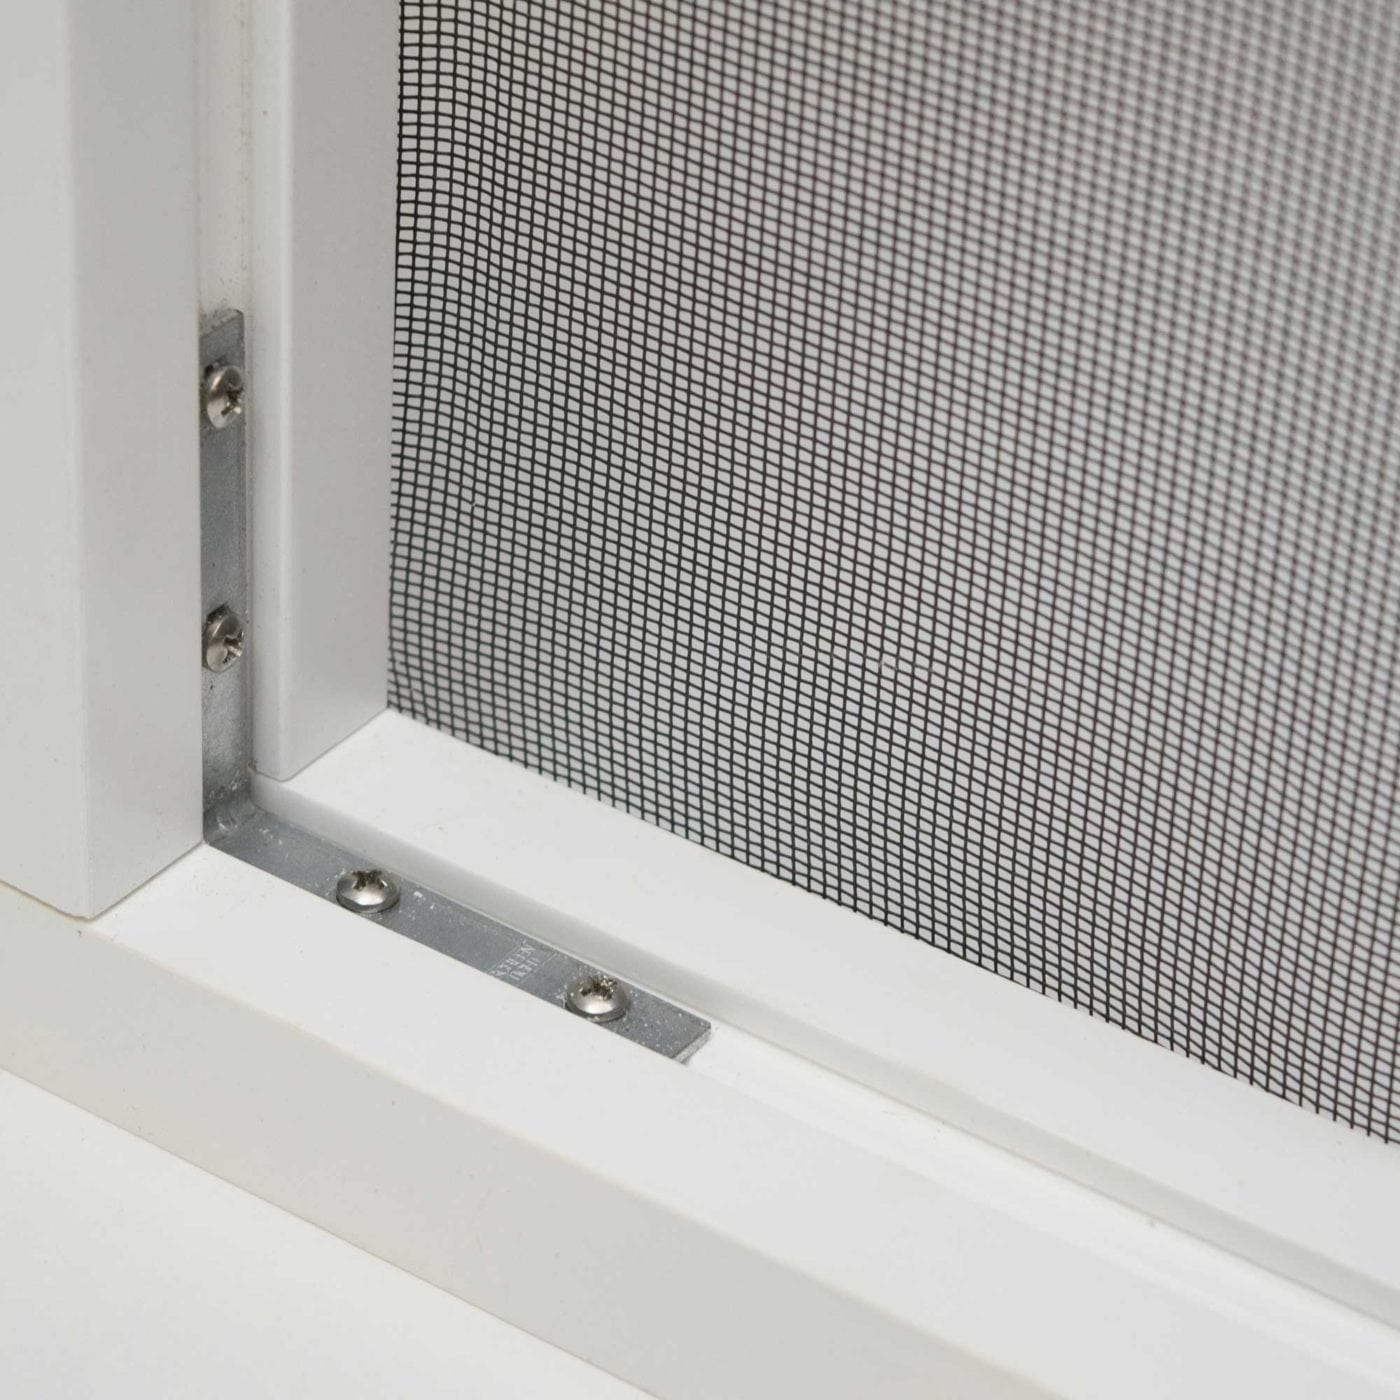
Install Screen Wall Hardware

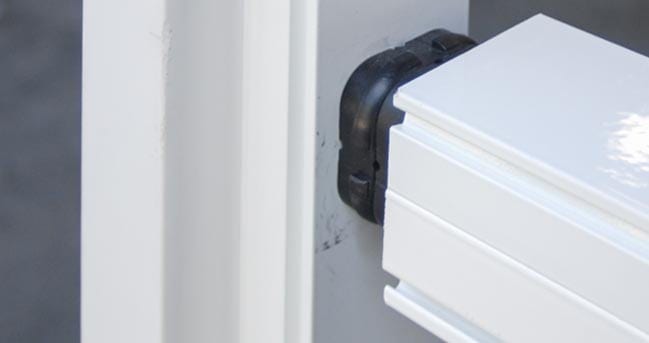
When installing vertical posts or horizontal railings, you must use the Screen Wall Angle Brackets to secure them into place. These fasteners are made specifically for this system and have a groove that assists with proper alignment.
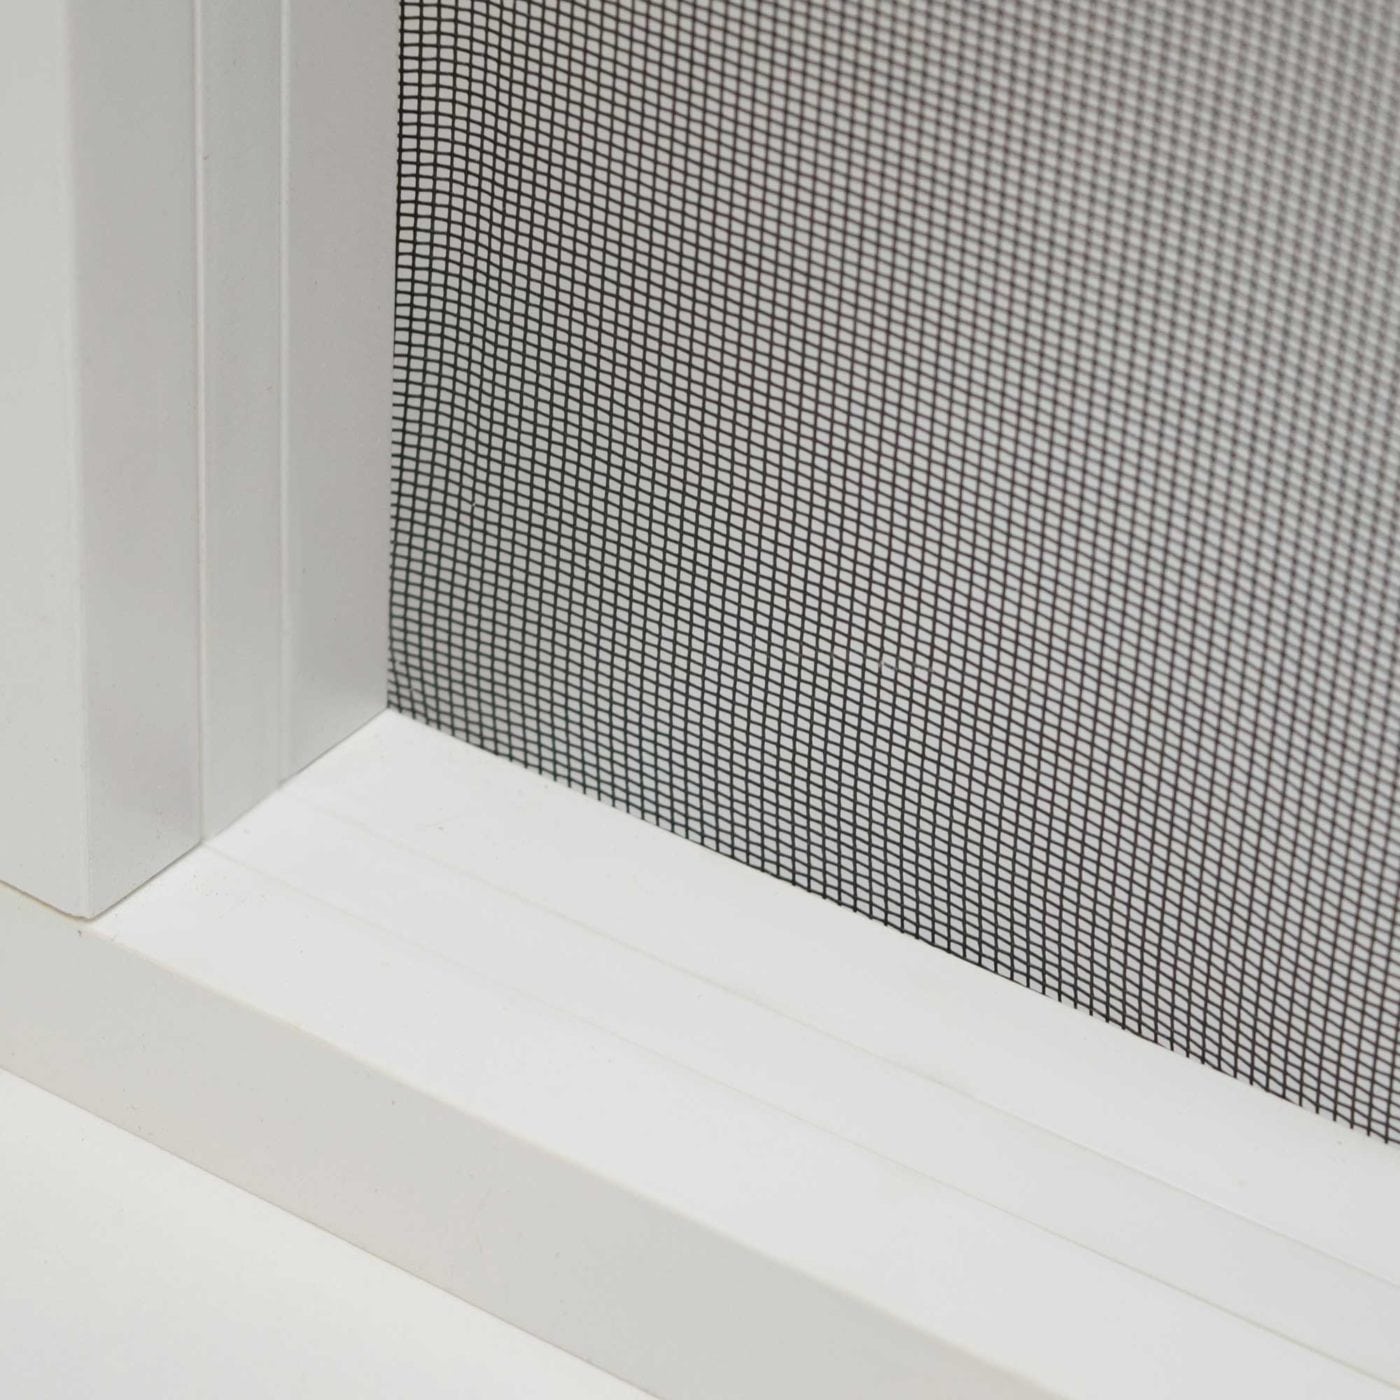
Insert Beauty Cap

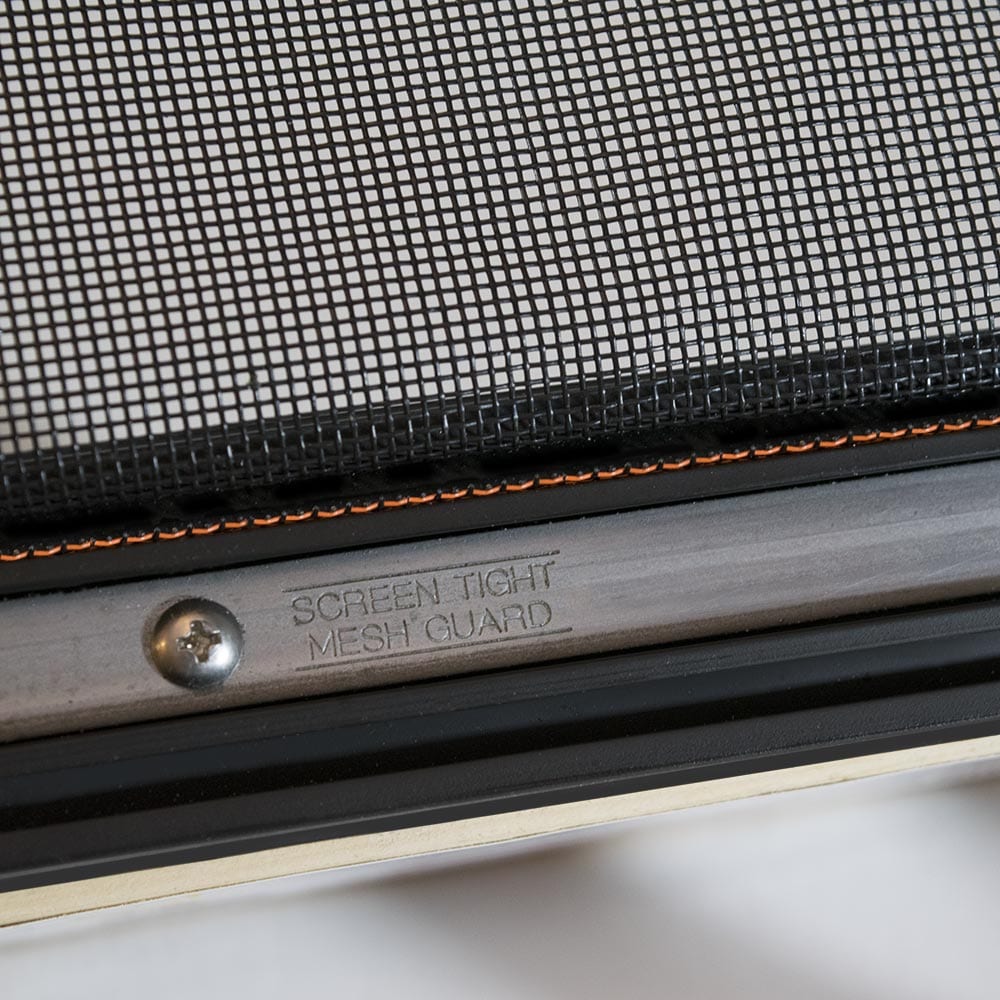
After all posts and perimeter components have been securely fastened, cut and place beauty cap strips over all fasteners. The result is 100% hidden fasteners, protection from the elements and a clean, polished appearance.

Roll Screen Into Channel

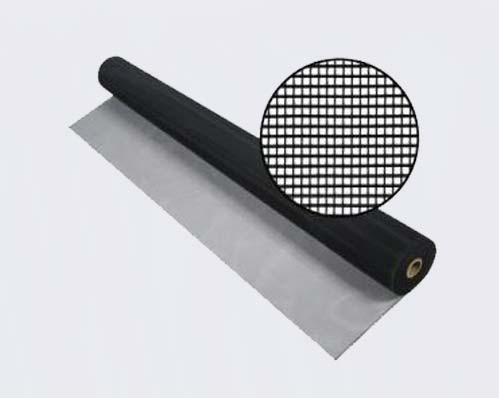
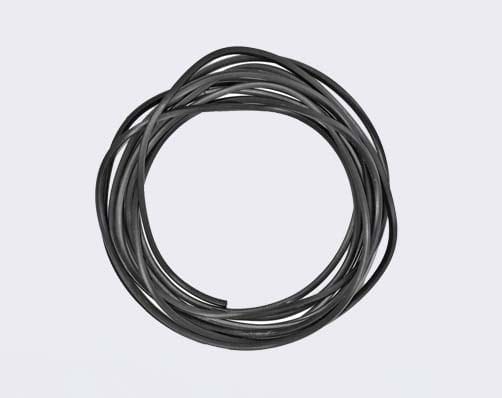
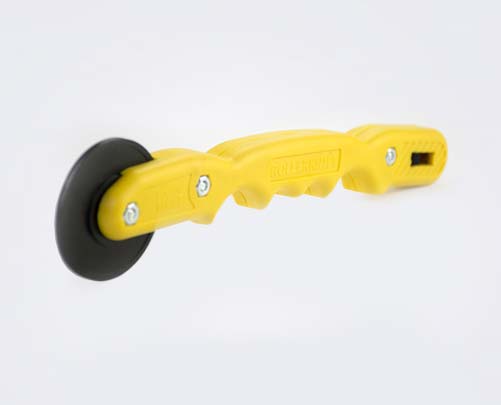
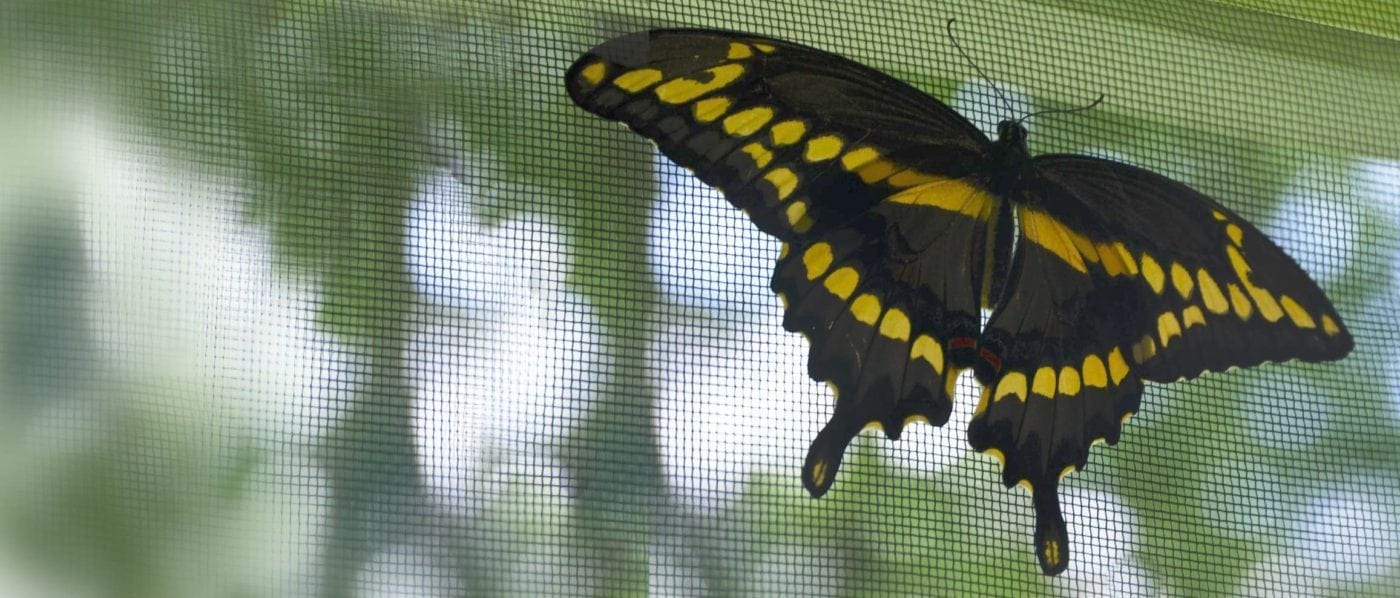
Using flat spline and the Rollerknife Screening Tool simply roll screen into the grooves located on the Screen Wall components. You can install the grooves facing the inside or outside of the porch. Starting with the top, working your way to the sides and bottom of each section to be screened. With all screen rolled securely into place, trim away any excess screen with a box cutter or blade. Patience is key for a clean and precise cut.

Download Installation Guide

Tips for Planning & Buying Your Screen Wall Project

  • Depending on your design, you can simply screen your porch with only the perimeter components which frame in your screened openings.
    • The 2-in screws attach the perimeter components to the existing load-bearing members. You’ll need 12 screws for each 8-ft length.
  • Post components create verticals and horizontal rails. The posts attach to the perimeter and other posts using the angle brackets and 3/4-in screws.
    • For each end of a post that meets the perimeter, you will need 2 angle brackets and 8 screws.
    • For each vertical post that intersects a horizontal post, you will need 4 angle brackets and 16 screws.
Calculate Your Project
  • If you create a horizontal rail, you may want to install the cellular PVC pickets as well.
    • For each picket, you will need 2 picket brackets and 4 3/4-in screws.
  • Both the perimeter and post components have built-in spline channels and are compatible with standard flat spline and our super-strong MeshGuard spline.
  • The beauty cap covers all the angle brackets and screws used to fasten the components.
    • Each post has two channels. For each post, you will need double the amount of beauty caps.
    • The perimeter component has a single channel. For each perimeter, you only need one beauty cap.

Need Project Support?

Visit our project resources or contact us if you have any questions before, during or after installation.