How To

Get Started with Screen Tight®

Before getting started with Screen Tight, make sure you have all the tools and supplies necessary. Tools and system components are sold separately.

Tools & Supplies

MeshGuard Base

Screen Tight Base

Available 1.5-in or 3.5-in widths and 8-ft lengths

Screen Tight Cap

Screen Tight Cap

Multiple colors, 1.5-in width available in 8 or 12-ft lengths. 3.5-in width available in 8 or 10-ft

Fiber Glass Screen

Screen Mesh

Fiberglass screen is recommended. Measure and buy the proper size screen for your openings.

Square Spline

Round Spline

Attach the screen to the base using .175-in spline

Roller Knife Screen Tool

RollerKnife

All-in-one screening tool

Pruning Shears

Snips or Shears

Easily cut & trim base and cap

Rubber Mallet

Rubber Mallet

To attach cap to base

Power Drill

Power Drill

Screwing base to porch frame

How to Buy

Grid Icon

Measure your Porch

Estimate your supplies by using our porch planning worksheet to measure your area and any existing structures that need consideration.

Download Worksheet
Shopping Cart Icon

Find a Retailer

Once you have your measurements, find a hardware retailer near you to get everything you need to create a beautiful porch.

Dealer Locator

How to Install Screen Tight

Install Track

Attach Base to Wood

Cut base to fit over wood framing with snips or shears. Base strips are butted together and do not require any mitering or notching. Attach the base strip to wood framing using 1-in wood or sheet rock screws. make sure put a screw in each slot. Fasters should be snug, but not so tight that the base strip bends. Put a screw no more that 2-in from the end of each base strip.


Roll Screen

Roll Screen Into Base

Roll screen into base strip with appropriate spline and screening tool. For fiberglass screen use .175 diameter spline. For aluminum screen use .160″ diameter spline. Start by rolling the screen into the top horizontal piece of base. After the top is rolled in, then roll the two sides and then the bottom horizontal piece of base. When screening the bottom, create screen tension by pulling down on the screen slightly to ensure a tight screen. Trim all excess screening with a razor knife or a Screen Tight Roller Knife so that excess screen doesn’t interfere with the cap snapping onto the base.

Mallet Screen

Snap Cap Onto Base

The cap snaps onto the base strip and serves as the trim piece. Use a mallet or small block of wood to snap the cap into place. When attaching the 3.5-in cap, the inside leg of the cap should be fitted under the base leg before applying pressure. Always attach cap from one end to the other. To remove cap, start at one end and using a screwdriver gently pry the cap from the base.

Download Installation Guide

Additional Product Information

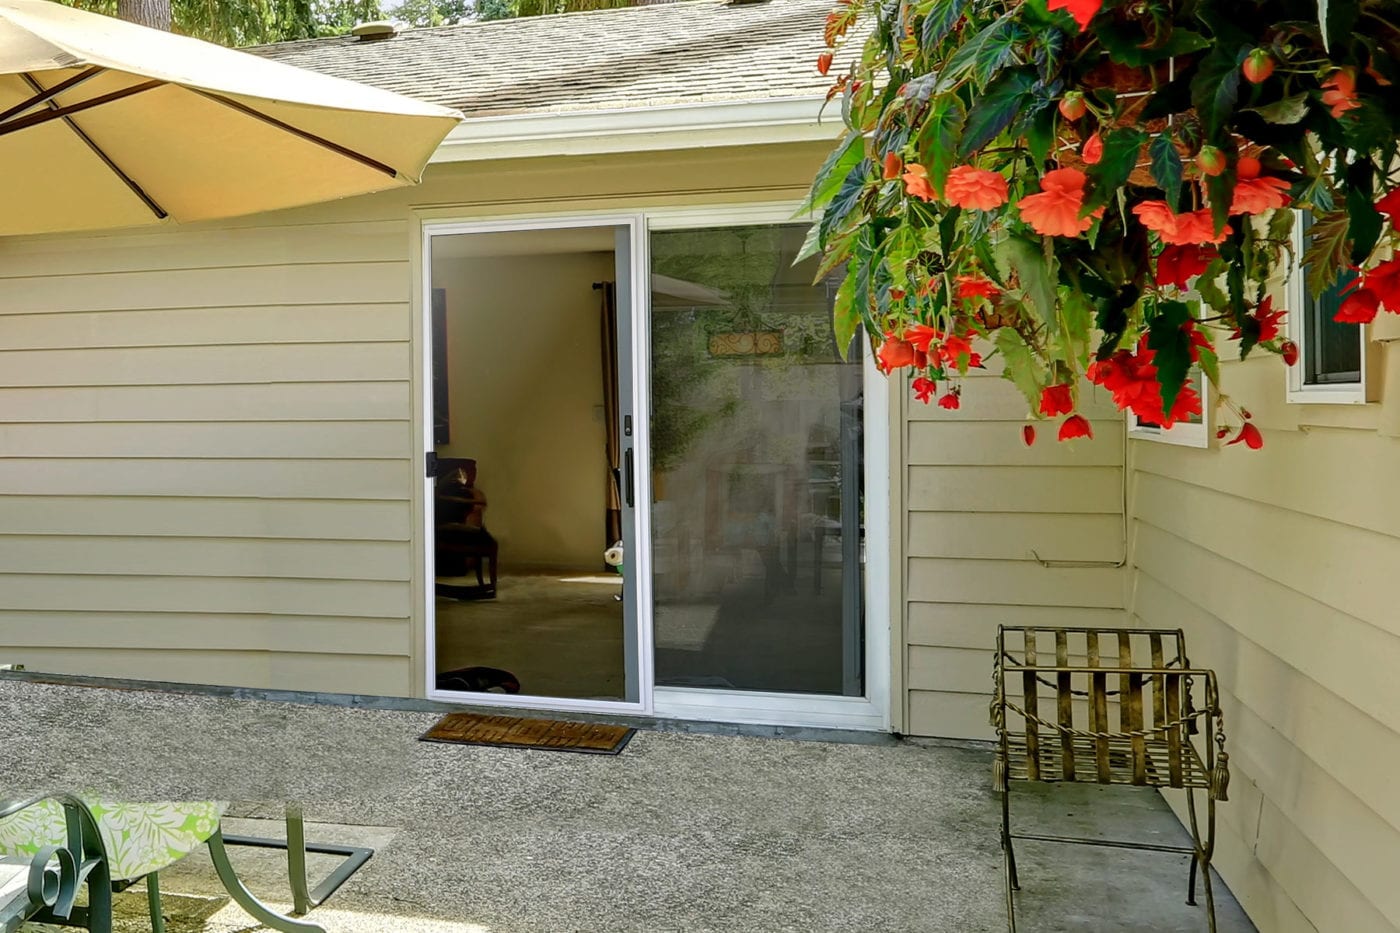
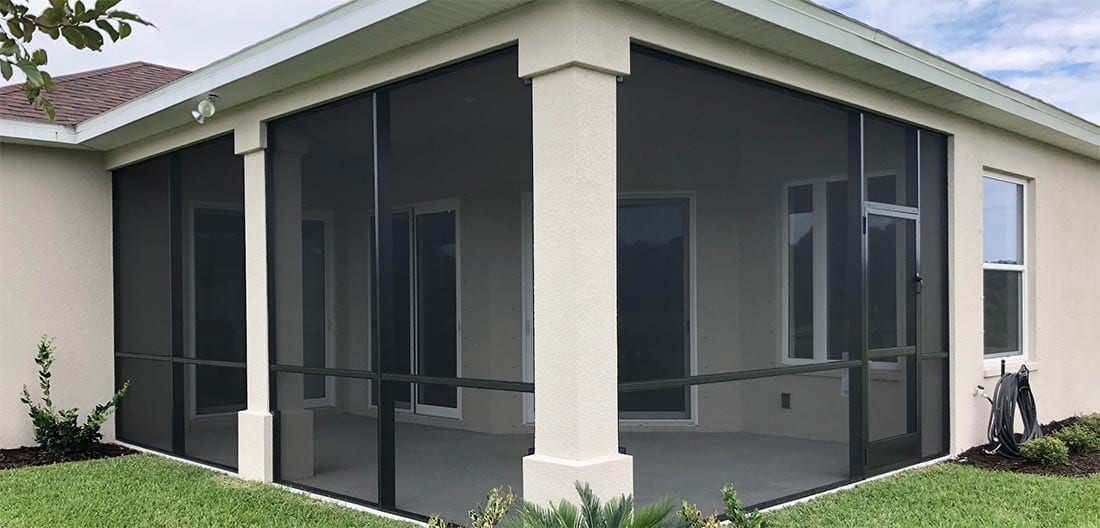
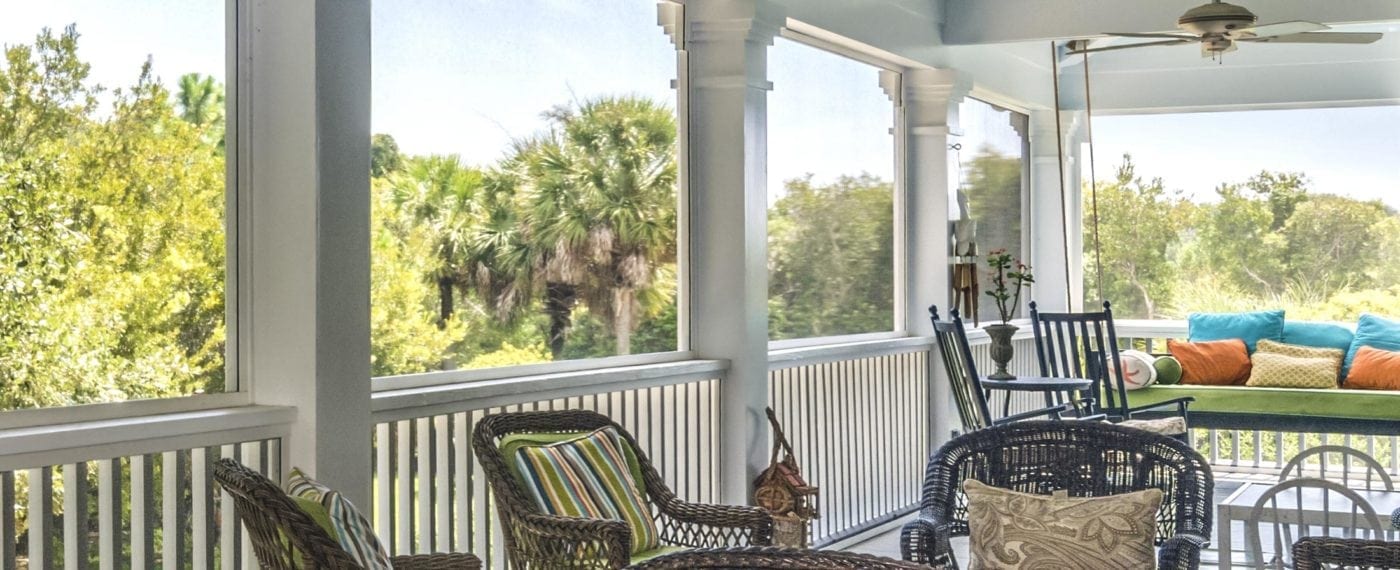
Suitable for Large Openings

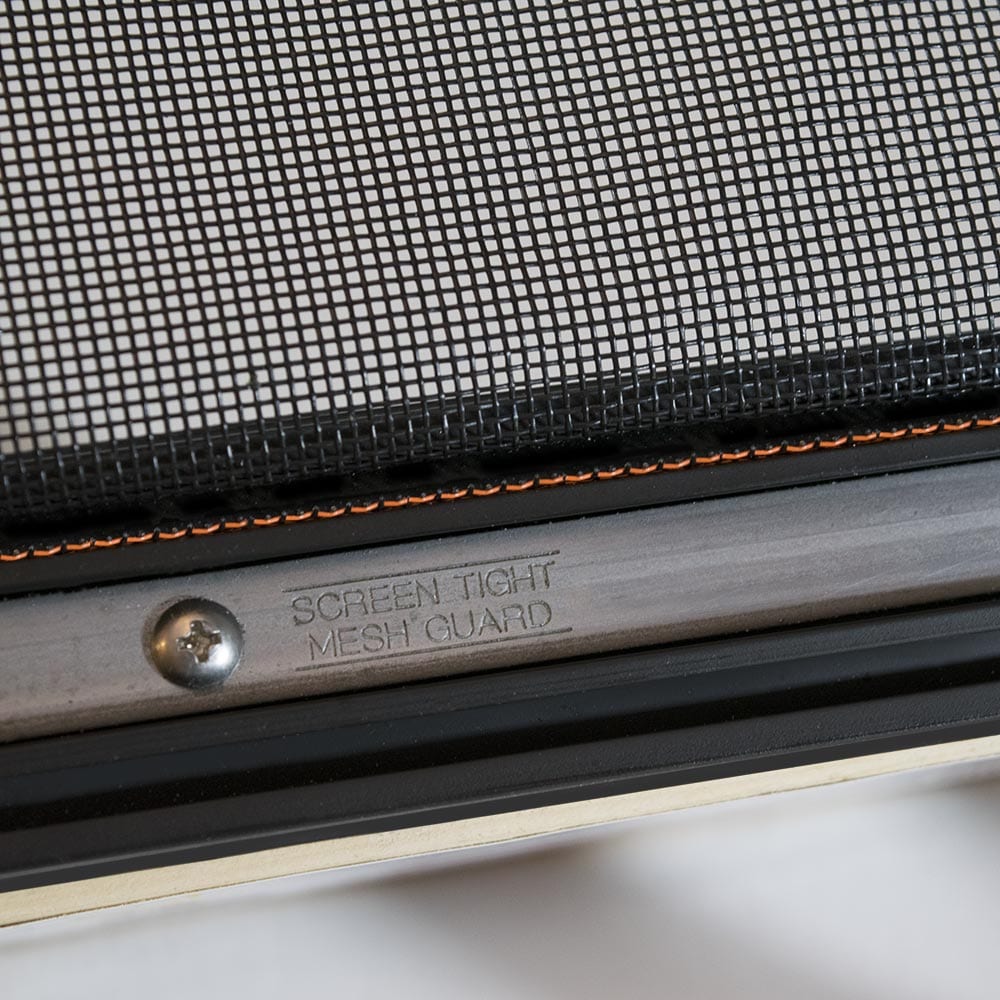
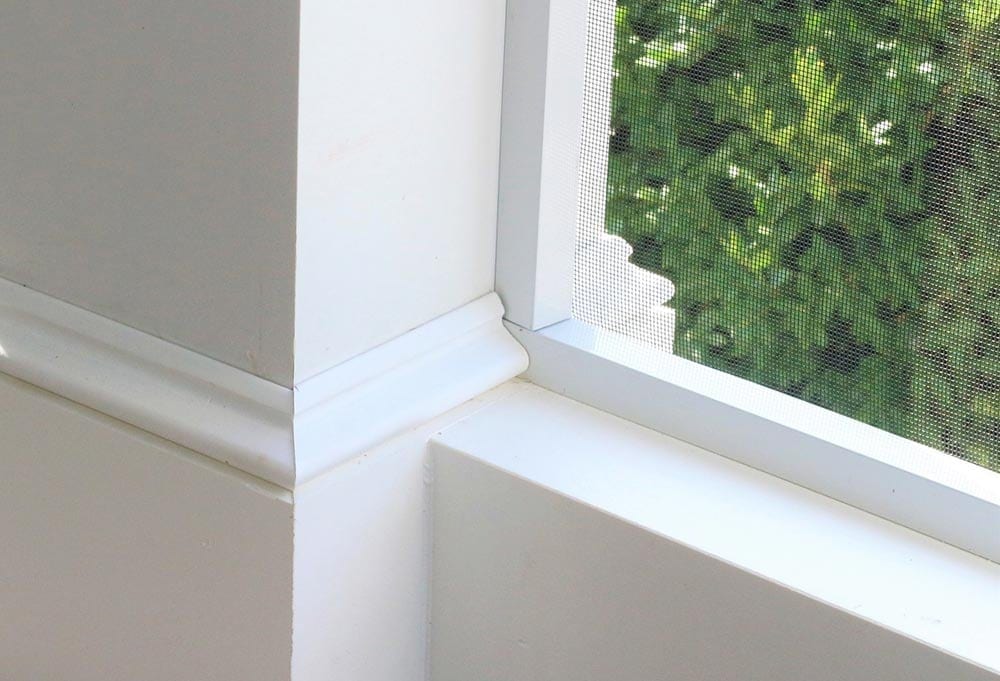
The Screen Tight® system easily accommodates expansive openings with a secure, tight screen. No sag means a clearer view to the outdoors.
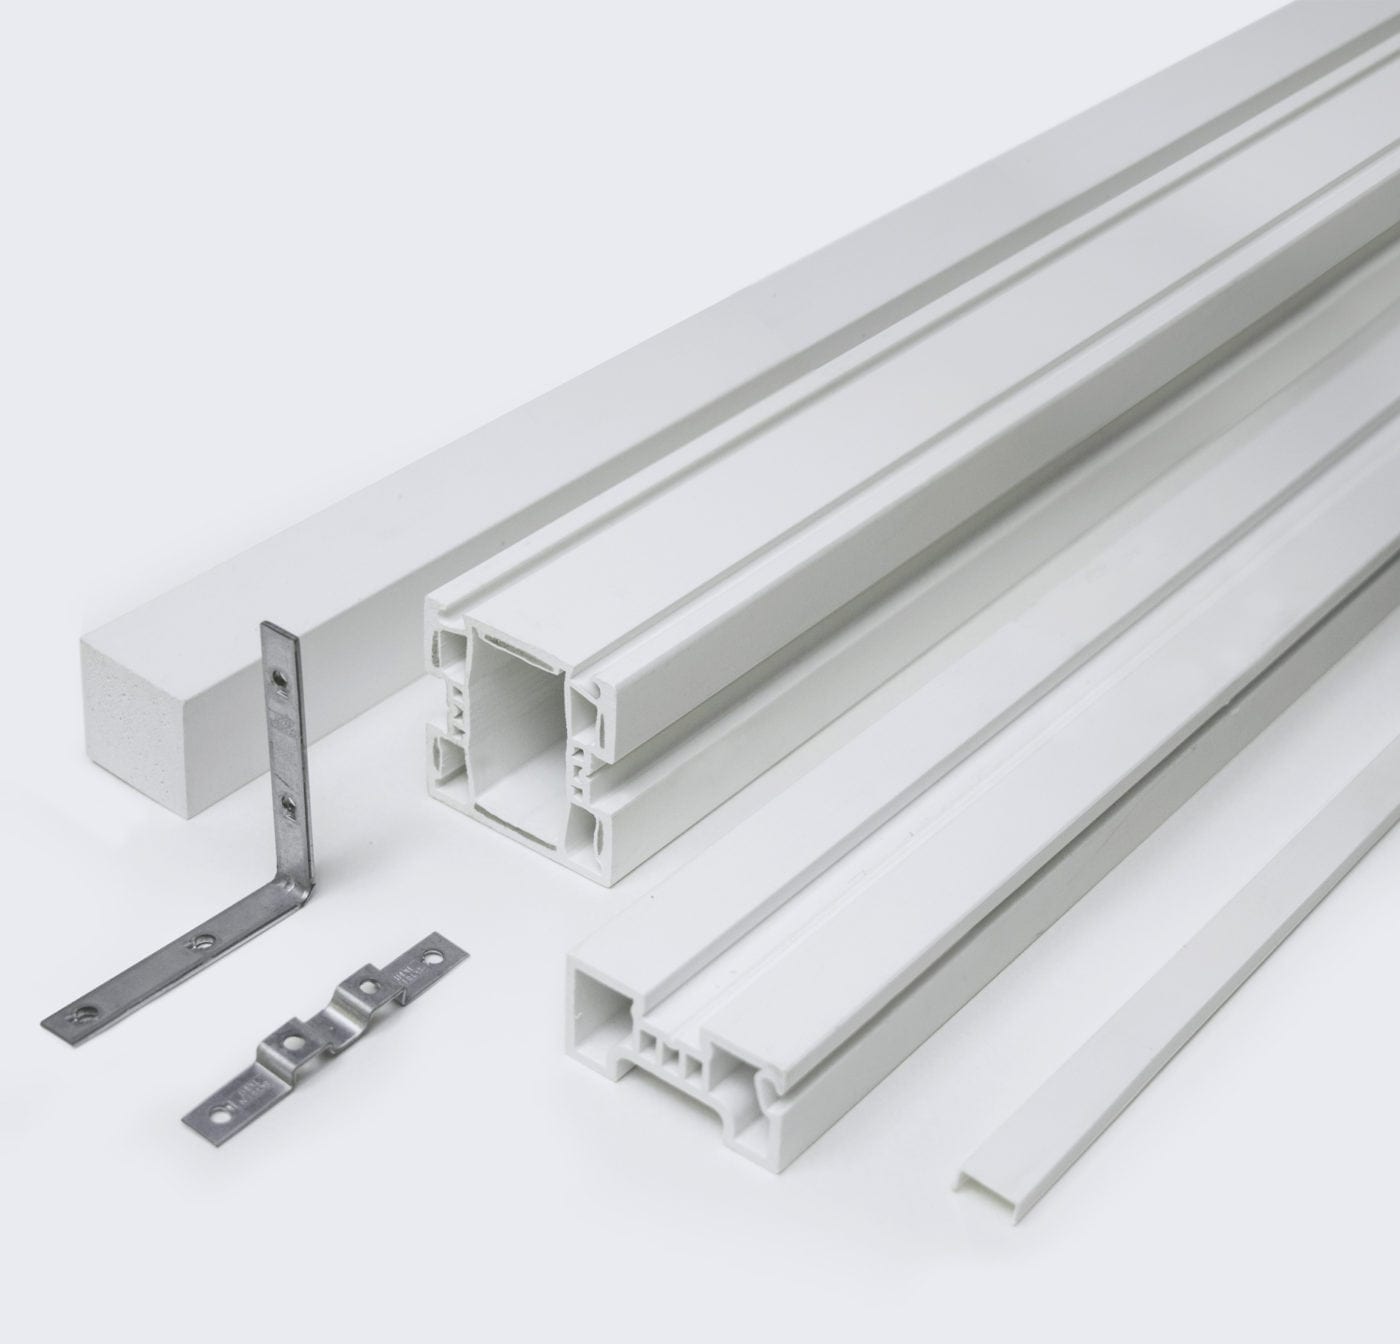
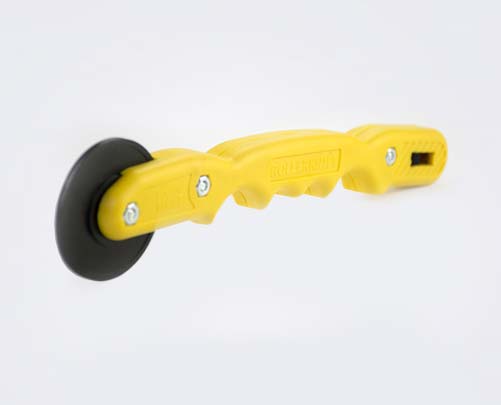
No Mitering

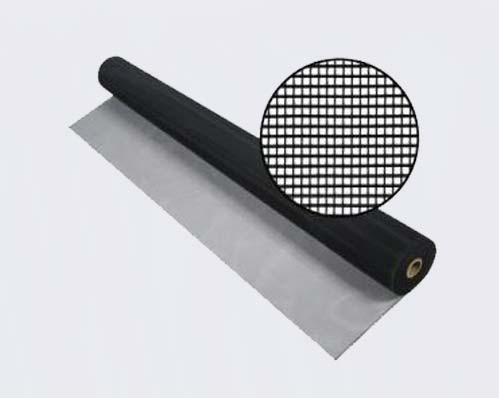
No mitering is needed. And screen-stretching mistakes can be corrected in no time simply by removing the spline and reattaching the screen.
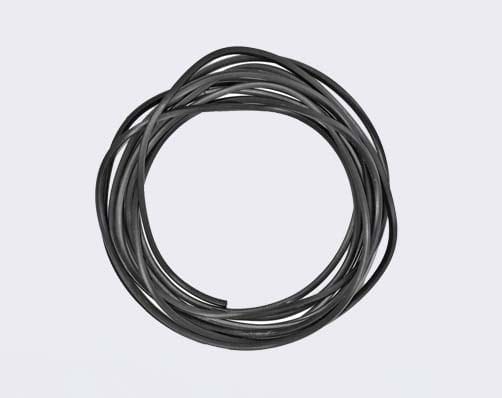
Weather Resistant

All exposed materials for the Screen Tight® system are manufactured from weather-proof, UV-resistant window grade vinyl.

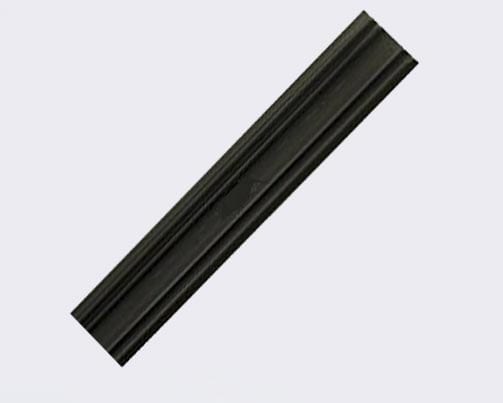
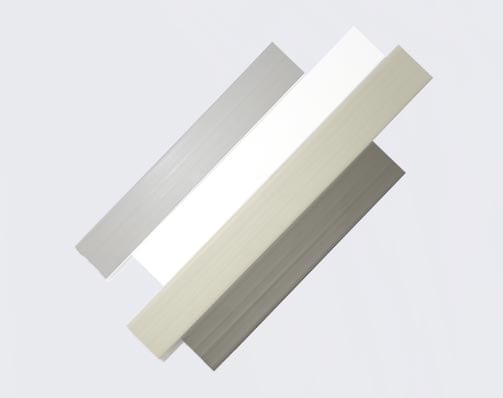
Various Sizes & Colors

The base and cap components come in widths of 1.5-in and 3.5-in and are stocked in 8-ft lengths with custom lengths available. The caps are made in longer lengths of 12-ft for 1.5-in and 10-ft for 3.5-in and are available in white, beige, gray and brown.

Original Screen Tight
Vinyl / PVC Base & Cap System
screen tight logo
1.5-in & 3.5-in width Base & Cap, 8-ft
80’ and 160’ Continuous Rolls
The 1-1/2” cap comes in 80’ and 160’
The 3-1/2” cap comes in 80’
Can cut to exact length to eliminate waste and deliver a smooth, clean look.
White, Grey, Beige and Brown Caps with No Painting Required
Usable on Existing Porch Frames
Weather Resistant Vinyl Will Not Rust or Corrode

Compare All Systems

Need Project Support?

Visit our project resources or contact us if you have any questions before, during or after installation.