Screen Tight
Our flagship porch screening system.
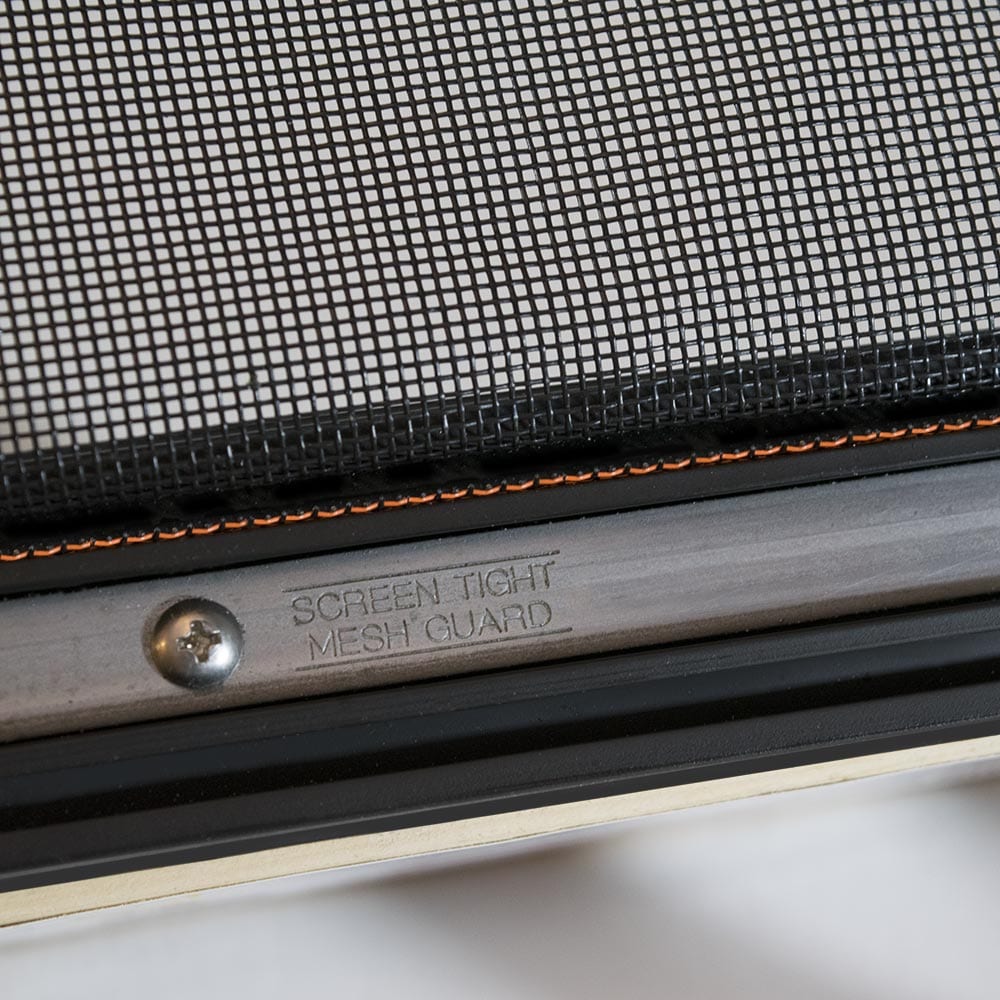
MeshGuard
Code-compliant guardrail system.

MultiTrack
Our most versatile screening system.
MiniTrack
Ultra low profile aluminim system.
FastTrack
Modular aluminum framing system.
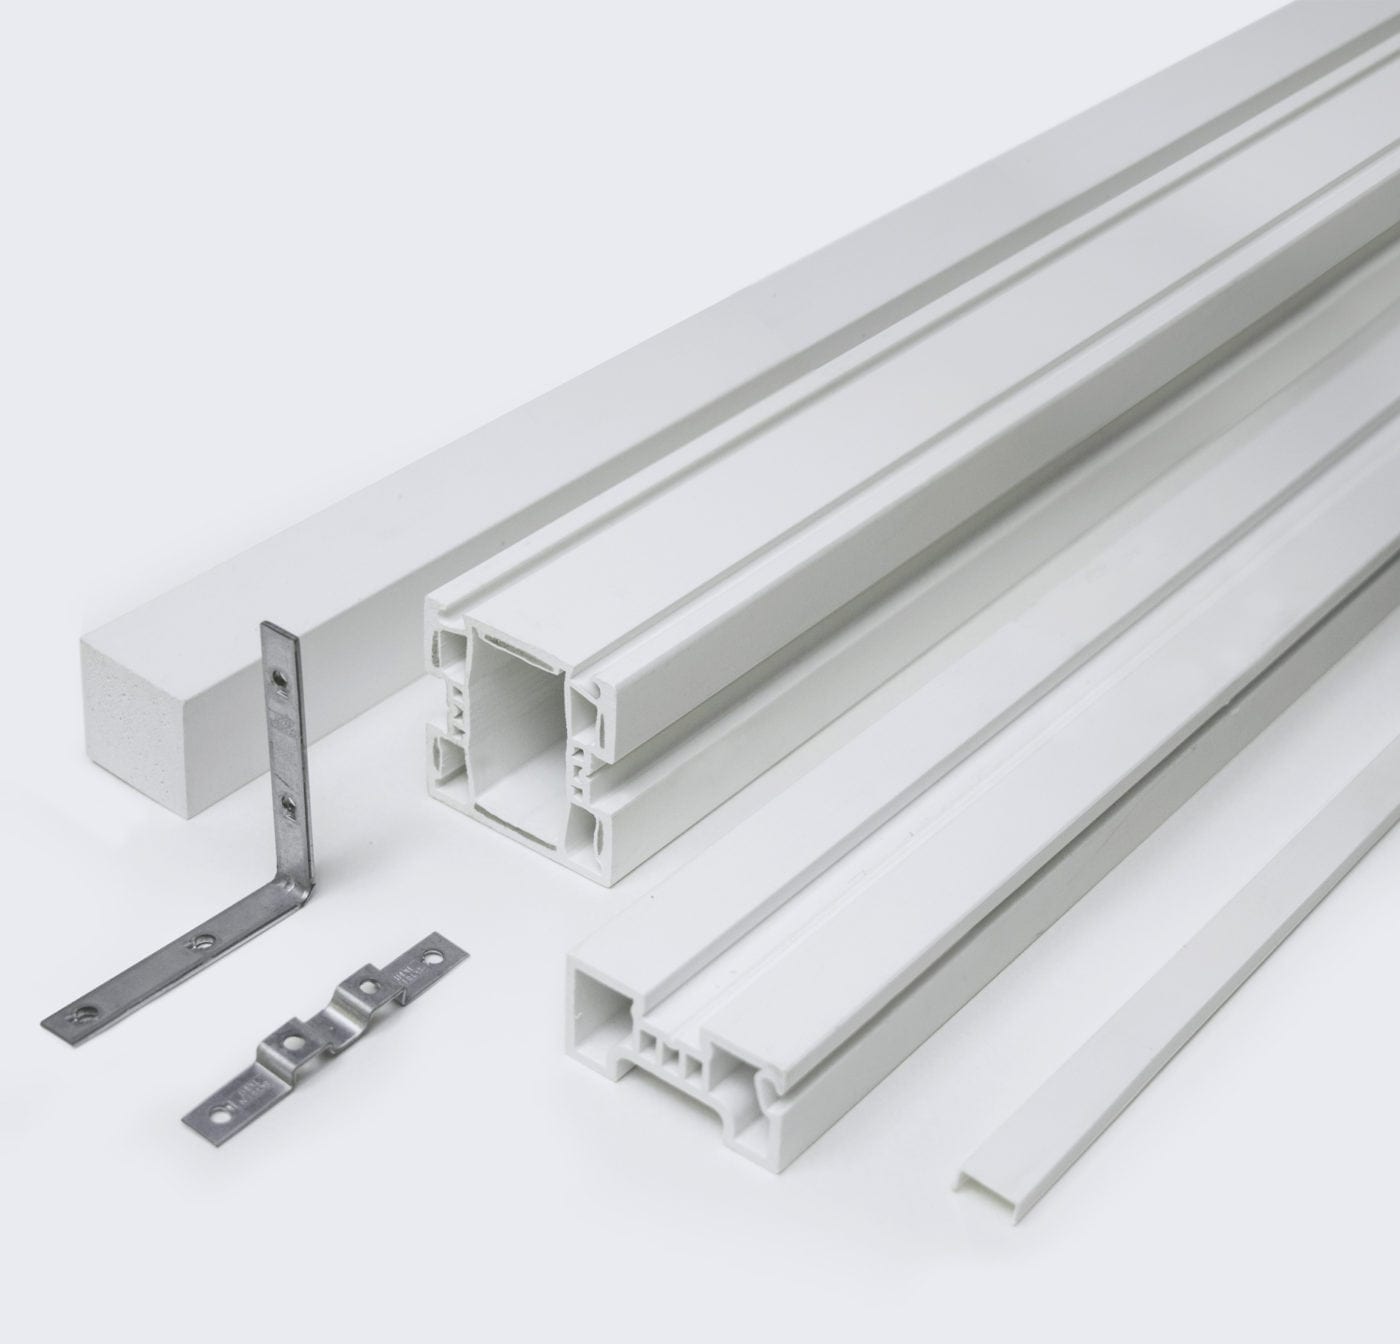
Screen Wall
Carbon fiber reinforced vinyl system.